SeeSnake Component Testing
The interconnect cord testing procedure is only relevant to the 3-pin to 3-pin interconnect cord.
Camera Head
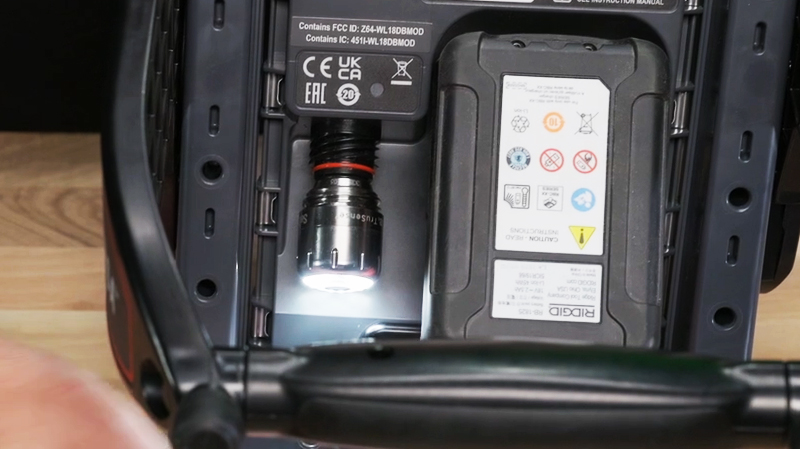
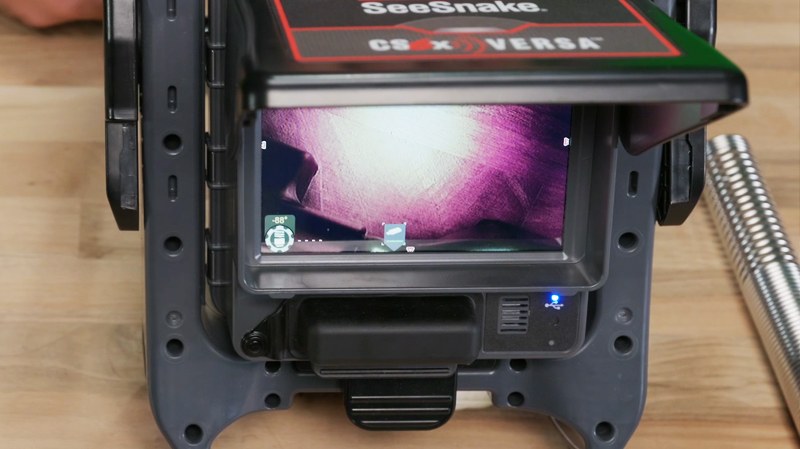
Detach the camera head and connect it directly to the monitor. Check for video and light functionality to confirm the head and monitor are operational.
Tip: Ensure the connections are clean and free of debris for optimal performance.
Notice: Cameras that can be tested using this method are camera heads with 3-pin connectors, such as the Standard, Mini, Mini Pro, Compact M40/C40/2, rM200A/B, and microREEL. The microDRAIN and NANOreel camera heads do not include a 3-pin connector and cannot be tested using this method.
Interconnect Cord
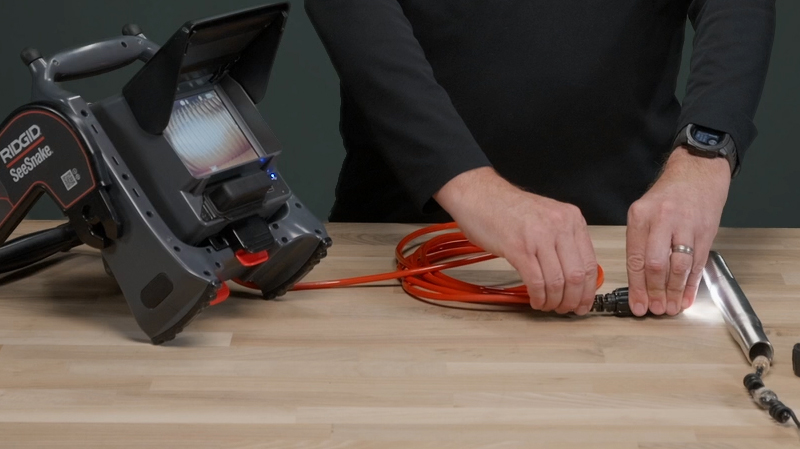
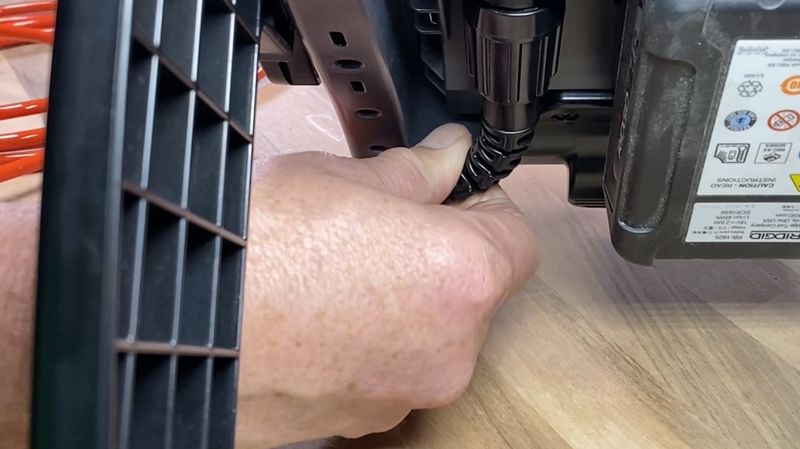
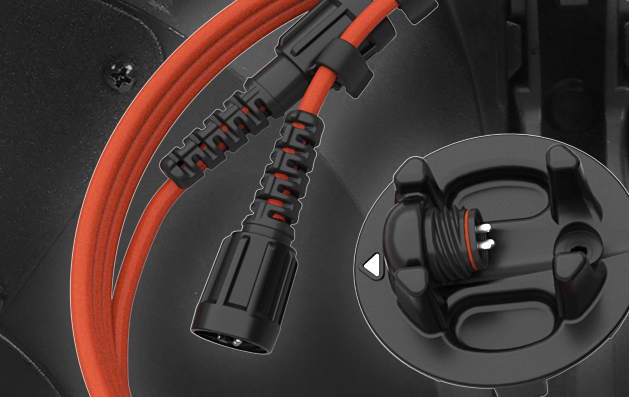
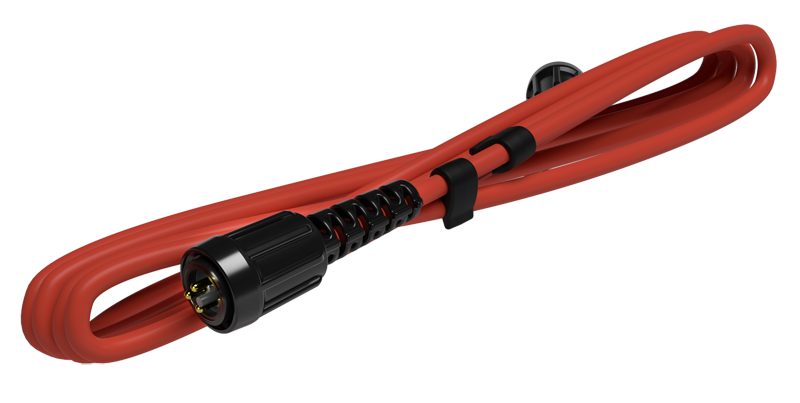
Unthread the female end of the interconnect cord from the bulkhead connector. Attach the camera head to the female end and connect the male end to the monitor. Flex both ends gently to detect potential wire breaks.
If your video is free and clear from any disruption, you can rule out the interconnect cord as a system issue.
Warning: Avoid excessive flexing to prevent further damage to internal wires.
Notice: The interconnect cord testing procedure is only relevant to the 3-pin to 3-pin interconnect cord.
FleXmitter® Sonde
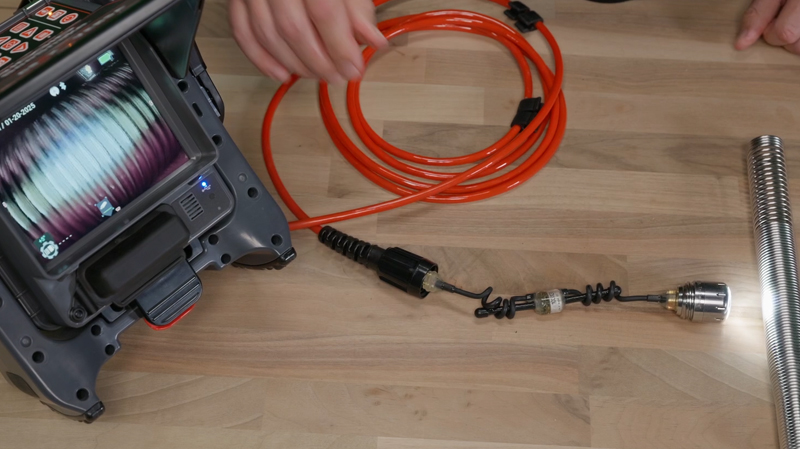
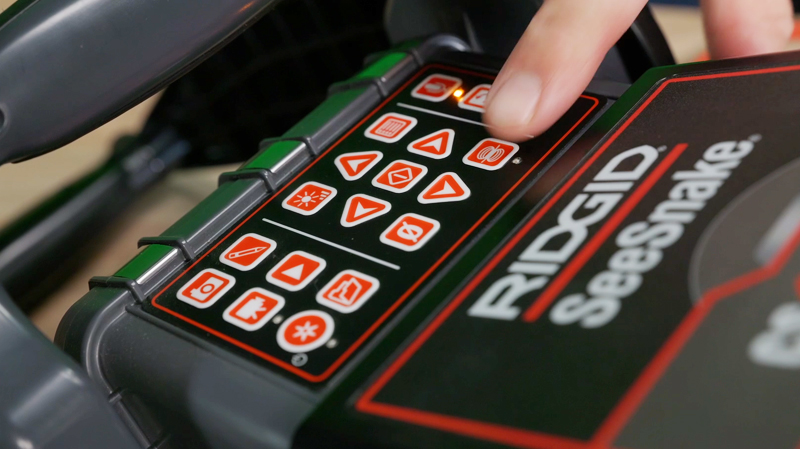
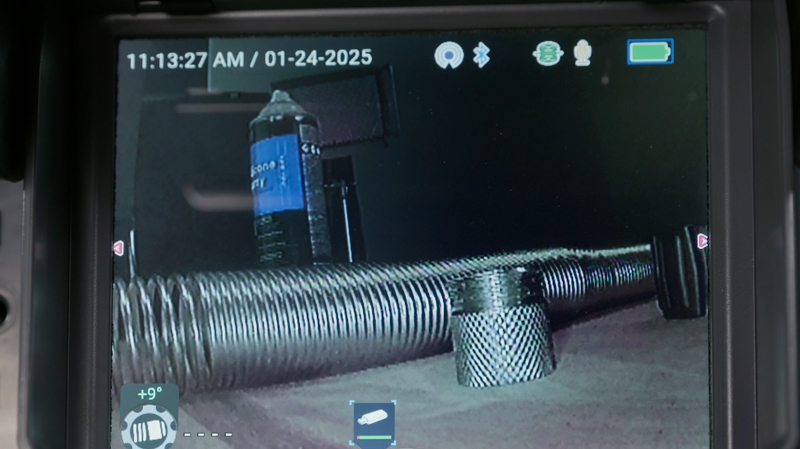
Plug the sonde directly into the monitor or interconnect cord. Verify video functionality, activate the sonde, and check the monitor for faint noise lines to confirm signal transmission.
Notice: The FleXmitter® sonde is not present on a microDRAIN, microREEL, or NANOreel.

