SeeSnake FleXmitter® Installation
Introduction

This guide covers how to remove an existing transmitter in your SeeSnake camera reel and install a new FleXmitter® part for SeeSnake systems such as the Standard, Mini, Compact, Compact2, rM200A, and rM200B.
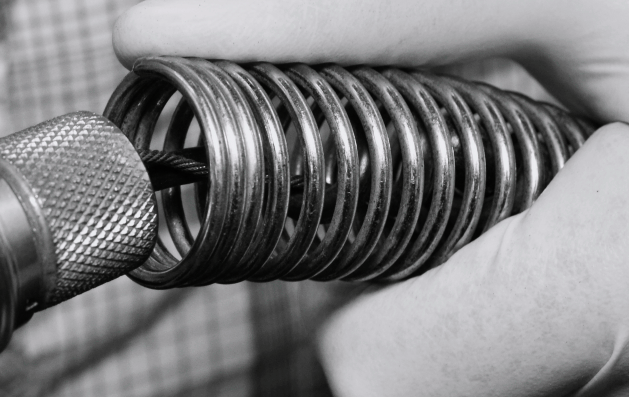
The FleXmitter® in-line transmitter is a powerful, miniaturized transmitter, or sonde, that installs inside the spring assembly of select SeeSnake camera systems, just behind the camera head. The FleXmitter® transmits a 512 Hz radio frequency signal that can be picked up with any compatible receiver, allowing users to pinpoint the camera’s position underground.
To activate the FleXmitter®, press the Sonde Key on your Camera Control Unit. When the FleXmitter® is active (transmitting a signal), faint interference lines may be visible on the monitor.
Tools & Materials
- Rubber Gloves
- Fine Point Flat Head Screwdriver
- Long Nose Pliers
- 7/8” Wrench
- SeeSnake Spanner Wrench
Contents
Removing an Existing FleXmitter®
To access your existing transmitter, you will first have to remove the camera head and camera spring on your system. Once these components are removed, you can continue with the FleXmitter® installation by following the instructions below.
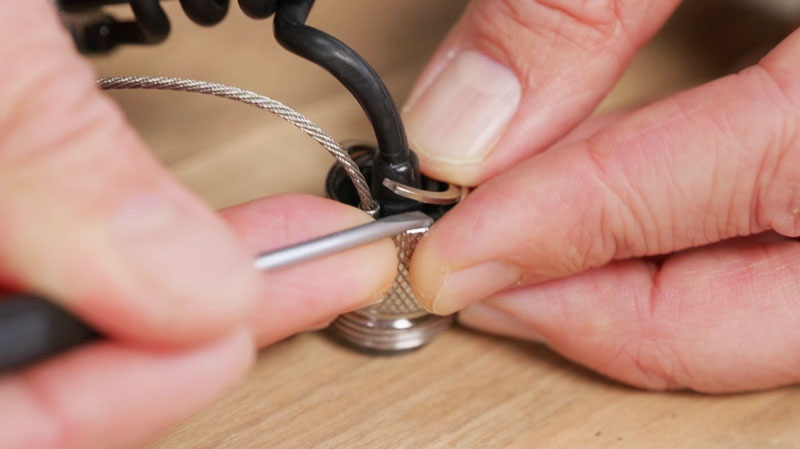
Step 1
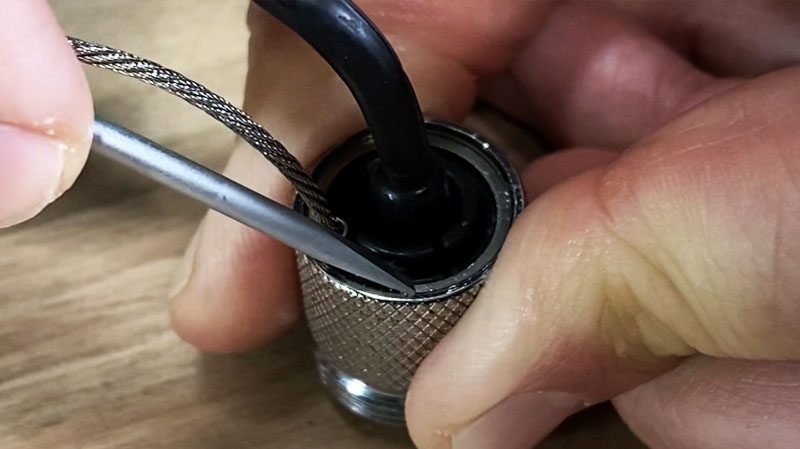
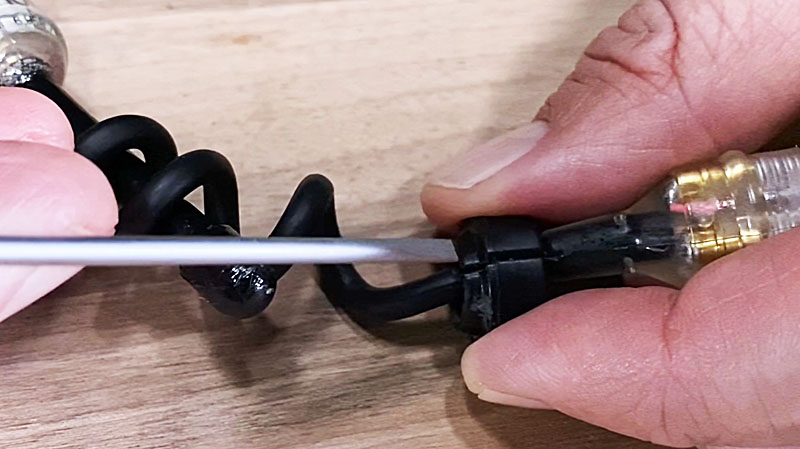
With the camera head and spring removed, use a fine point flat blade screwdriver to remove the retaining ring.
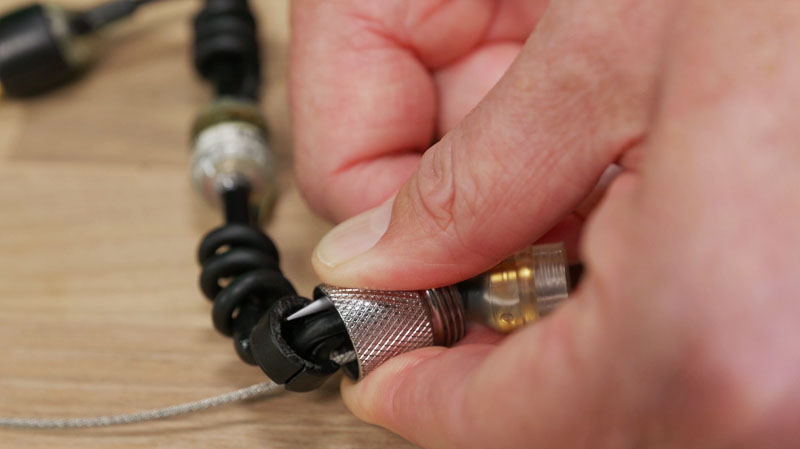
Step 2
Use the flat blade screwdriver to push the insert out of the locking sleeve.
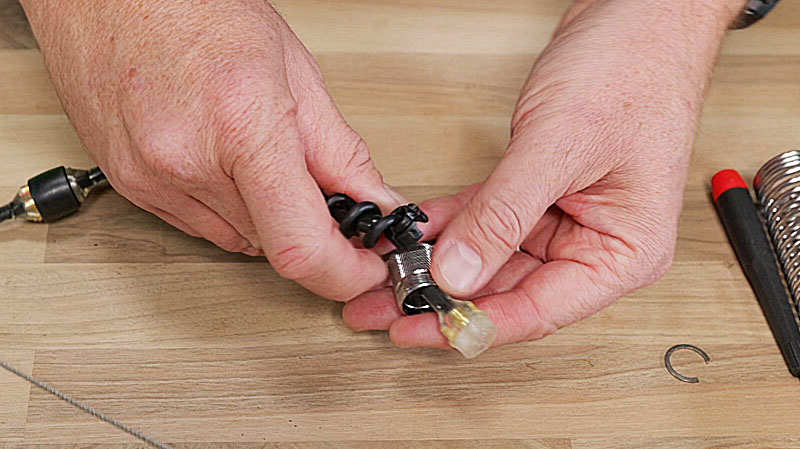
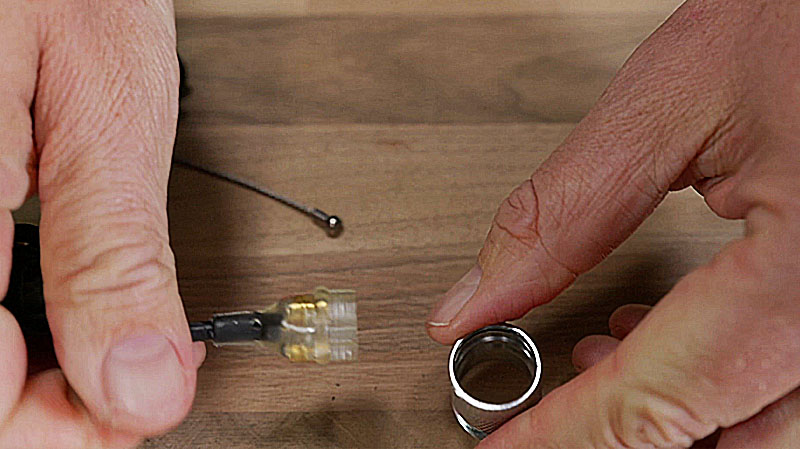
Step 3
Pull the existing FleXmitter® connector out through the back of the locking sleeve by holding the locking sleeve and pulling the connector through. If necessary, use silicone lubricant.
Step 4
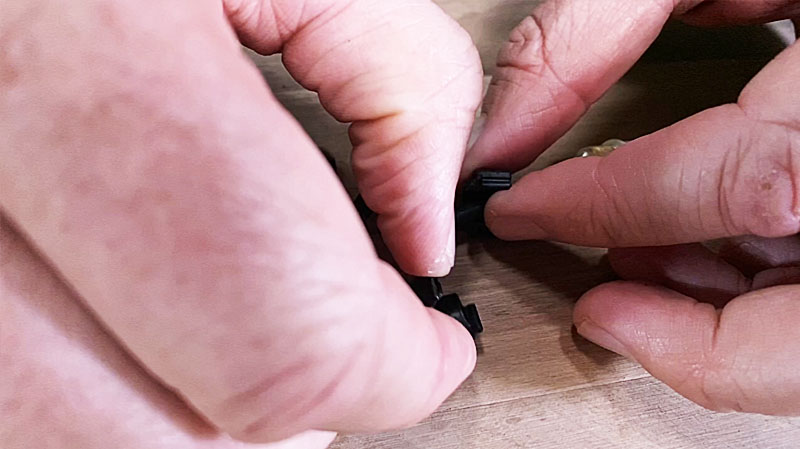
Remove the plastic insert from the cord. Locate the slit and use the screwdriver to separate the halves. Set aside for later.
Step 5
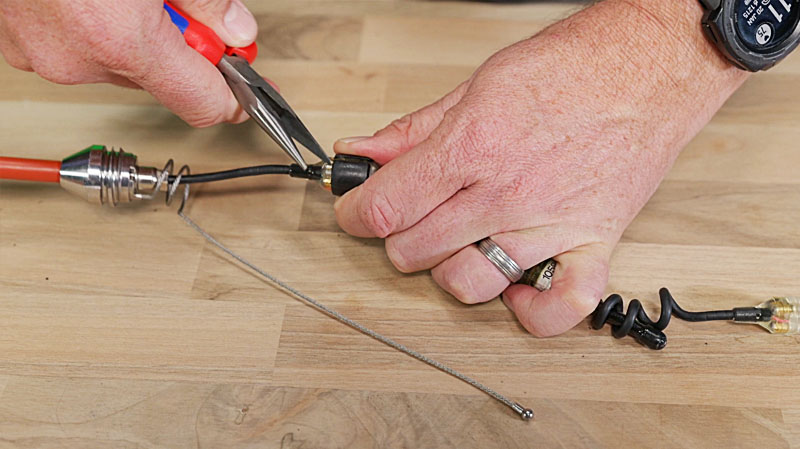
Remove the inline locking sleeve that secures the FleXmitter® to the termination cord. This works best with needle nose pliers. Grab the locking sleeve and slide the sleeve out of the way.
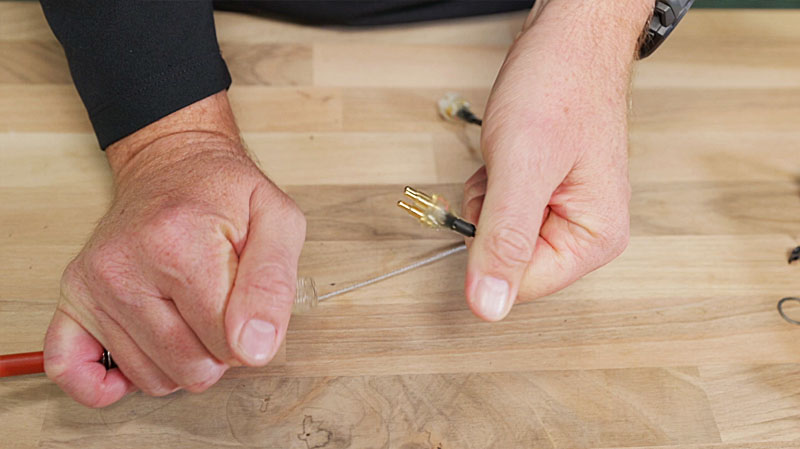
Step 6
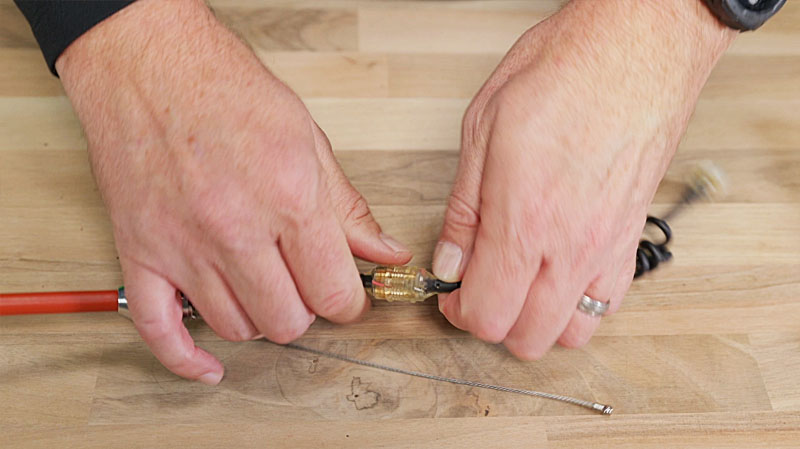
Unplug the existing FleXmitter® from the cord.
Installing a FleXmitter®
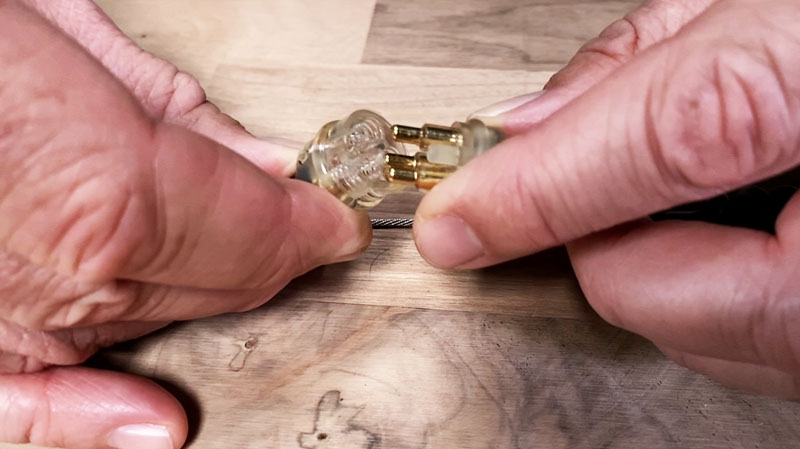
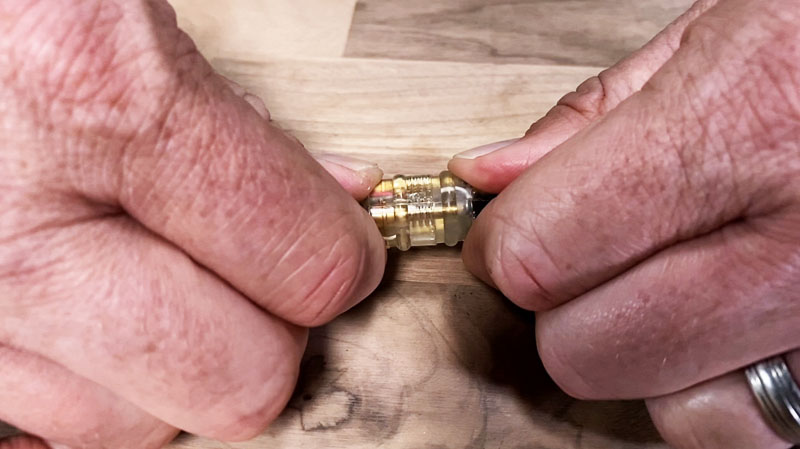
Step 1
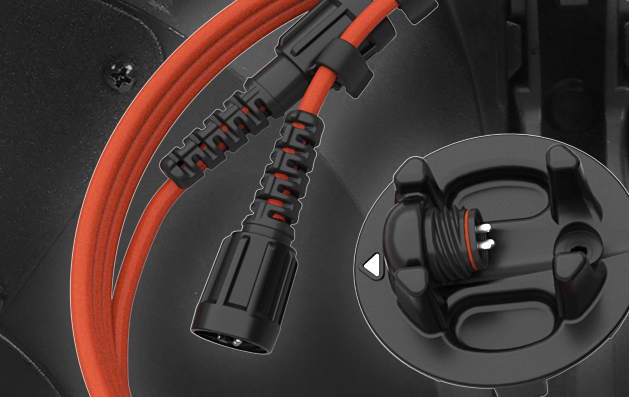
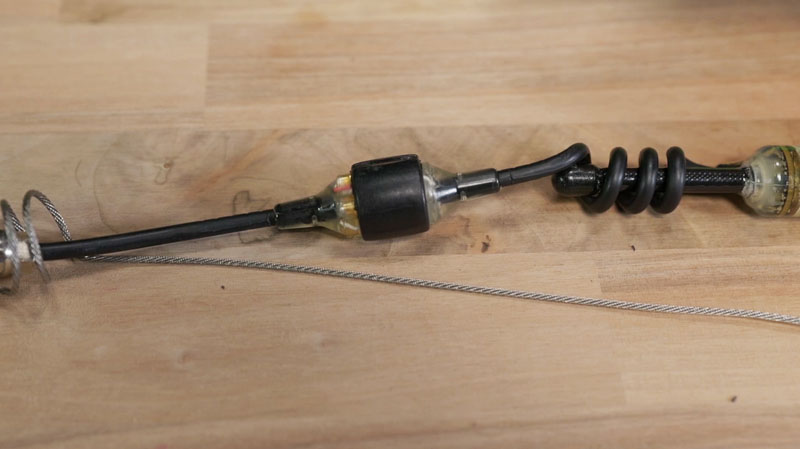
Align the connector heads and push them together. Make sure they are snug with little to no gaps where the two connectors meet.
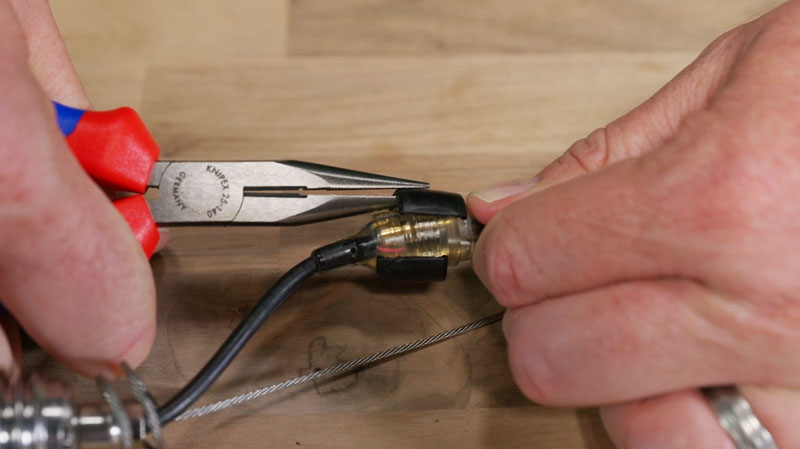
Step 2
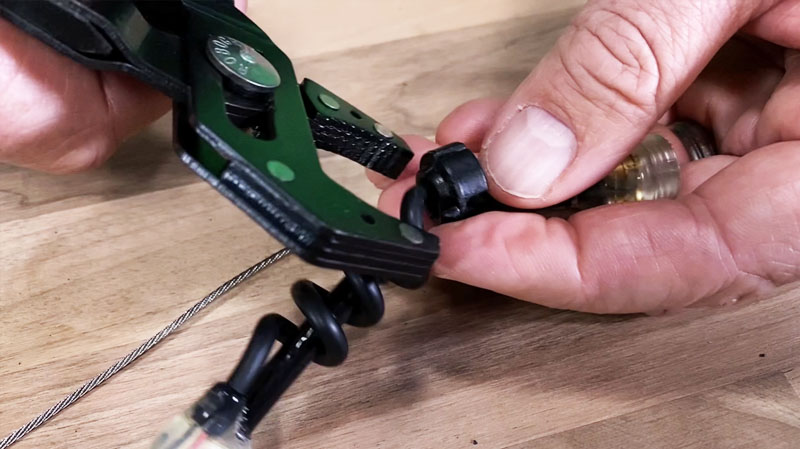
Move the connector locking sleeve over the heads, making sure the grooves on the sleeve align with the ridges on the connector.
Step 3
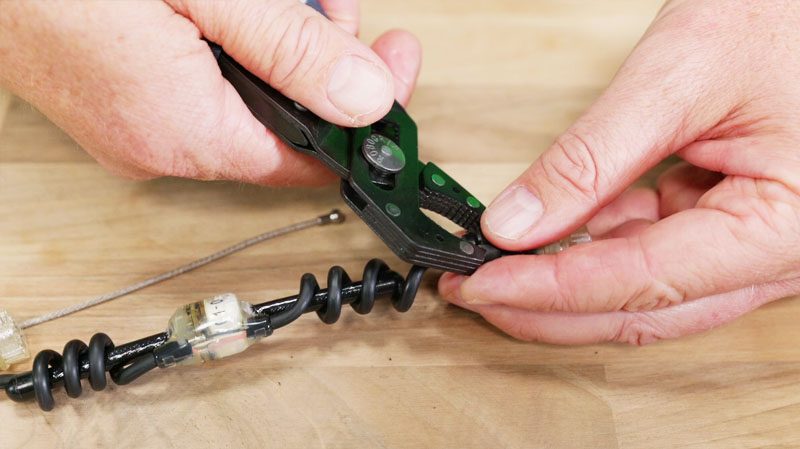
Install the inserts by first pressing the two halves together. Make sure the halves are aligned with no gaps or offset.
Step 4
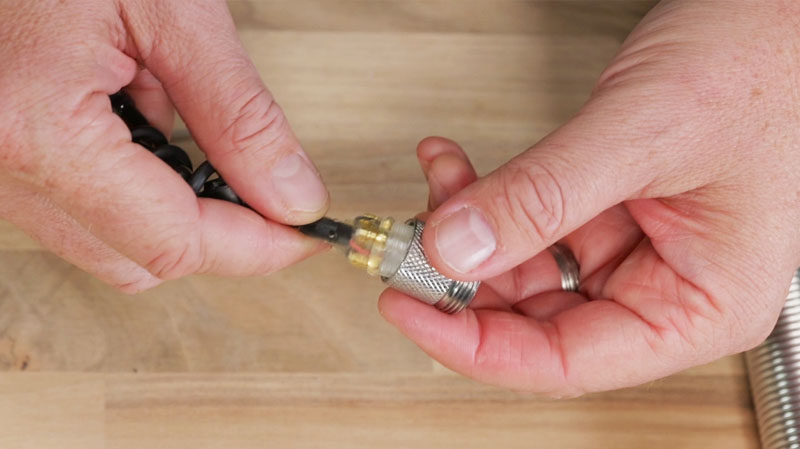
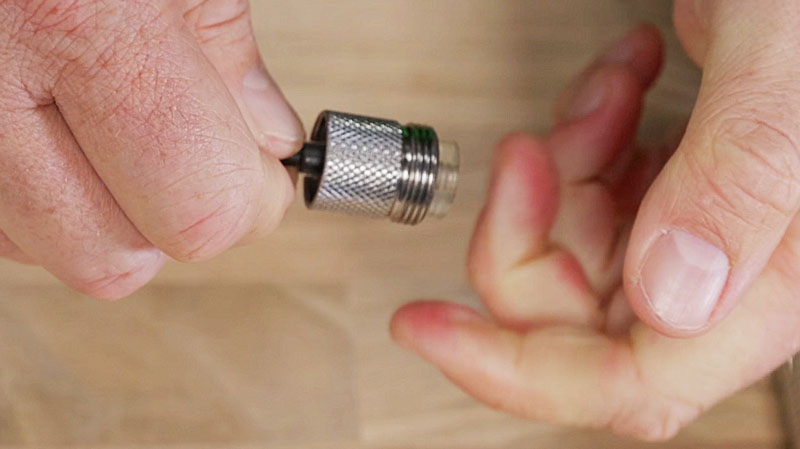
Push the cord connector into and through the back of the locking sleeve. Lubricate the connector if needed.
Step 5
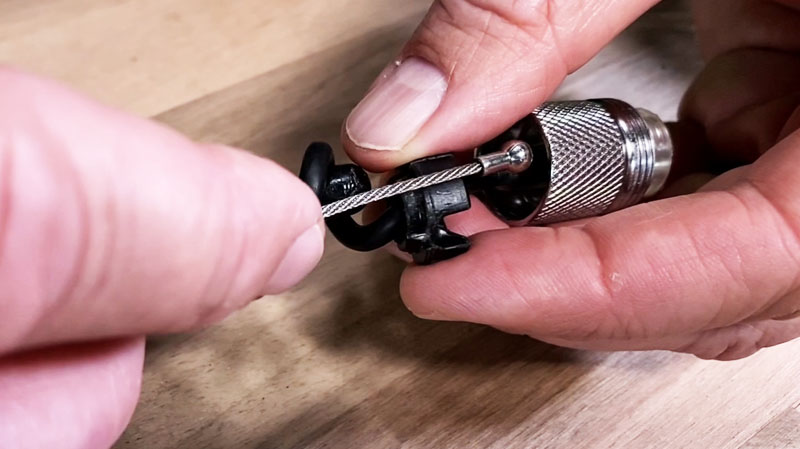
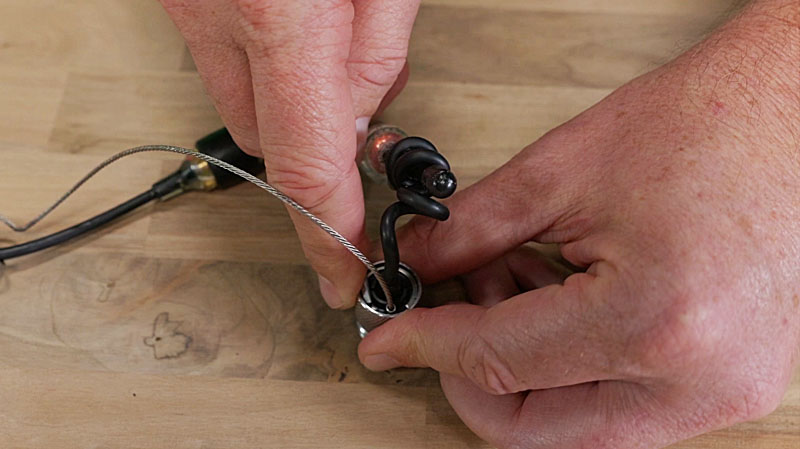
Place the safety cable in the groove on the slotted insert and push the two inserts and safety cable ball into the back of the locking sleeve.
Step 6
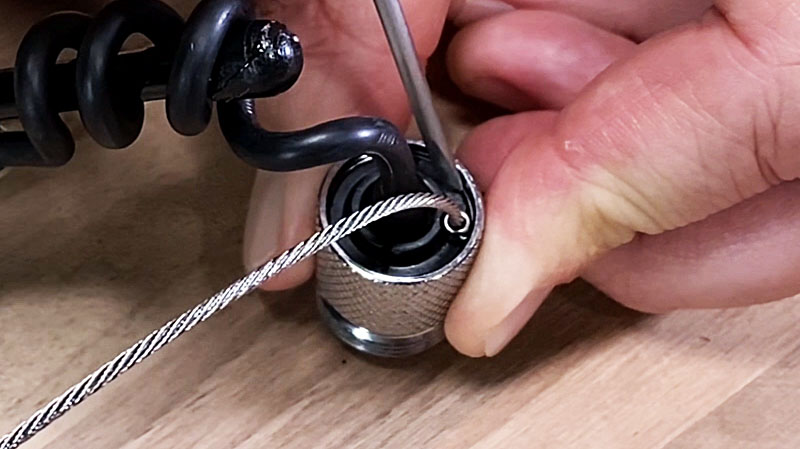
Use a flat blade screwdriver to press the inserts in until you see the groove of the retaining ring.
Step 7
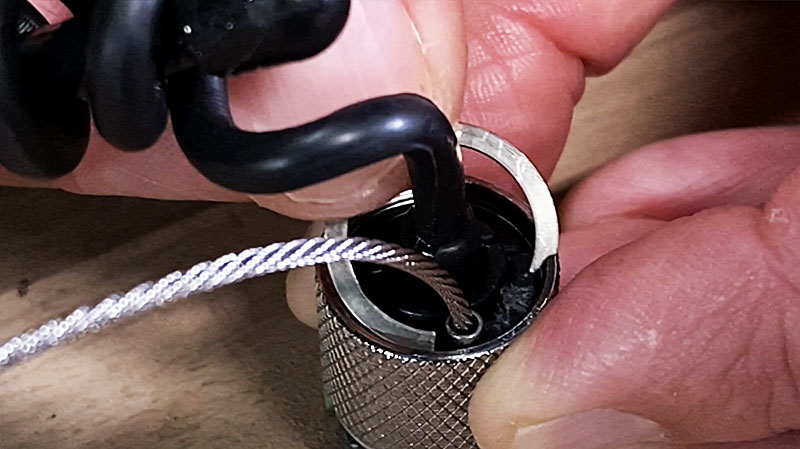
Install the retaining ring. Use the screwdriver to push the ring into place.
Step 8
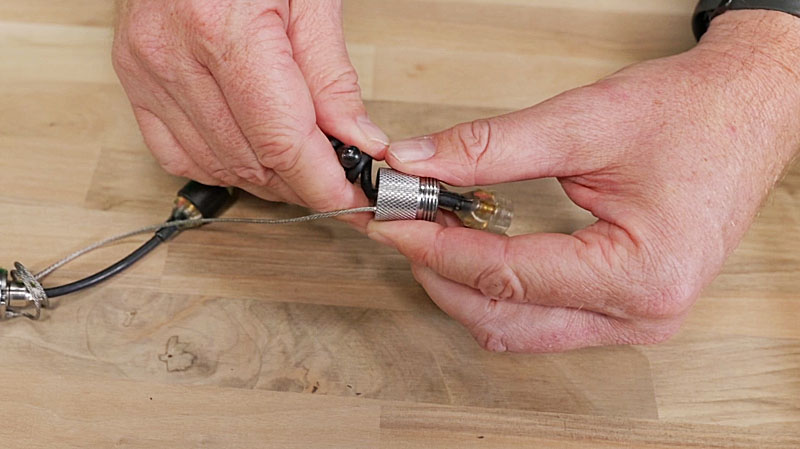
To ensure everything has been installed correctly, the safety cable should rotate freely, and the connector should be able to slide out for reattachment to the camera head.
Part Catalog Numbers
FleXmitter®
| RIDGID Part Number | Item |
|---|---|
| 15323 | FleXmitter® (single safety cable) – Standard / Mini / Mini Pro / Compact 2/ C40/ M40 / rM200 |
Additional Troubleshooting Guides

