Camera Head
Introduction
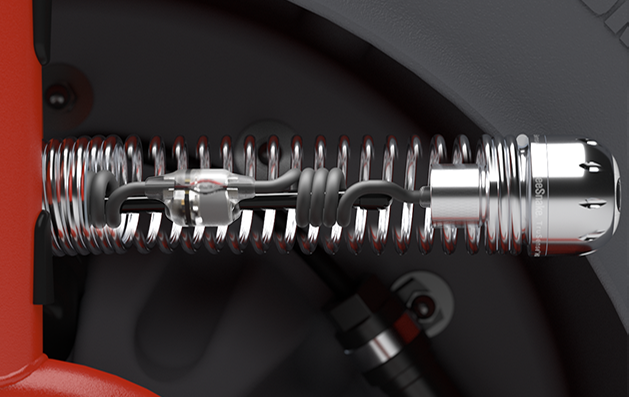
Removing the camera head may be needed for service, troubleshooting, or to inspect components inside the spring.
This page explains how to remove and install a camera head on a SeeSnake camera reel.
Tools & Materials
- SeeSnake Spanner Wrench
- Pliers
Contents
Removing a Camera Head
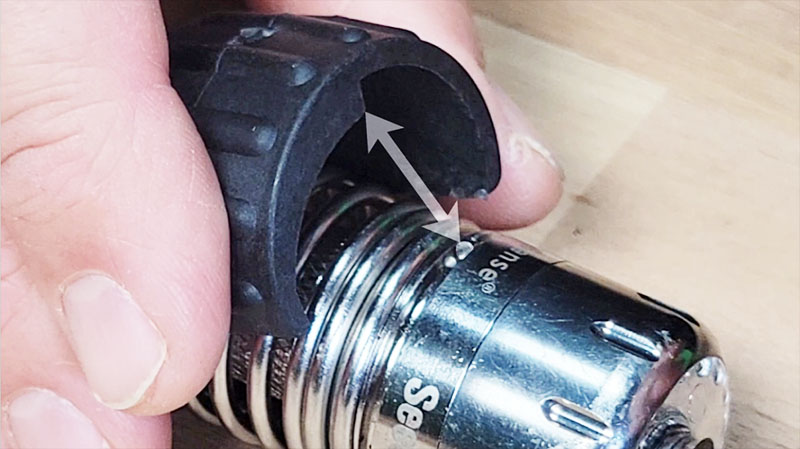
Step 1
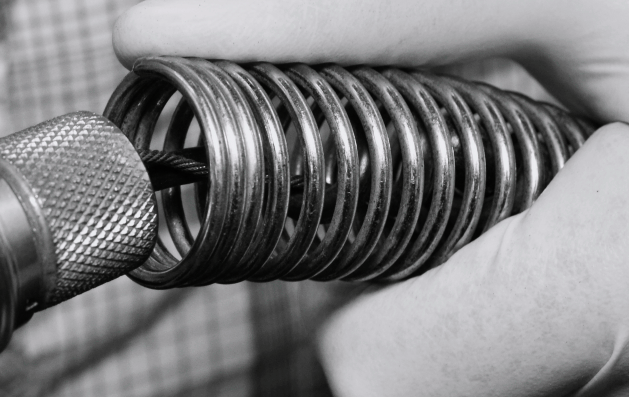
Snap the spanner wrench onto the spring, just behind the camera.
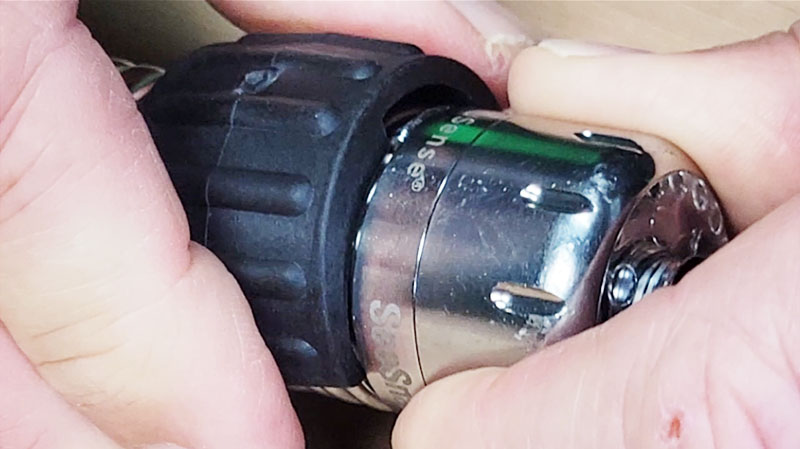
Step 2
Align the notch inside the spanner wrench with the end of the spring coil.
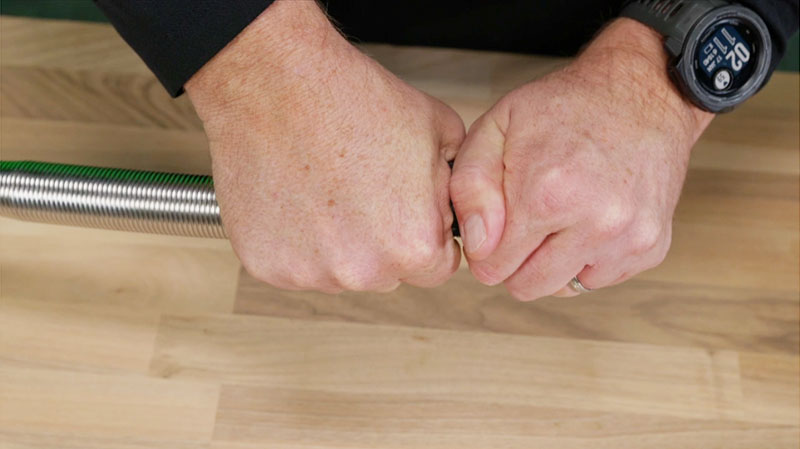
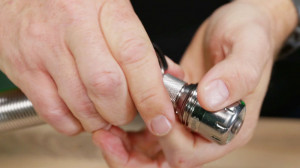
Step 3
Unscrew the spring from the camera.
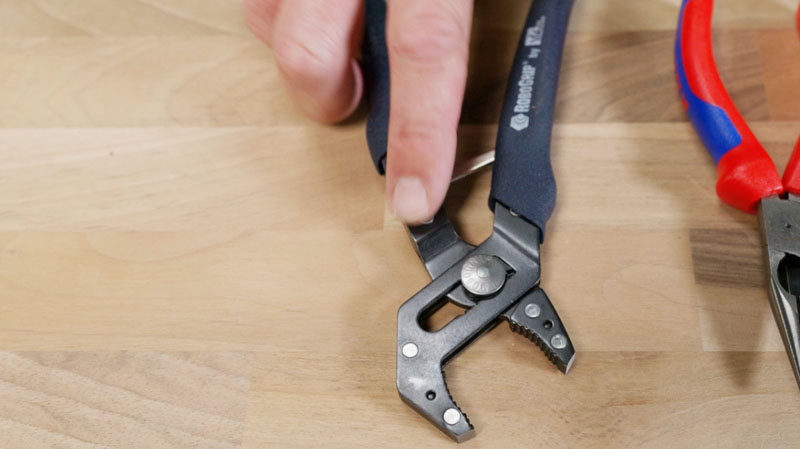
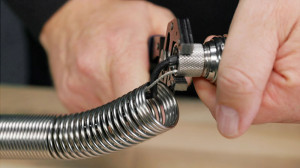
Step 4
Loosen the locking sleeve with a pair of pliers.
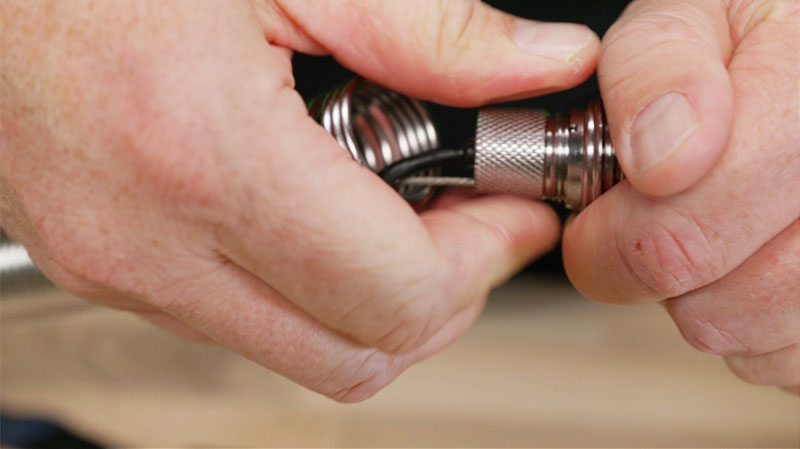
Step 5
Unthread the locking sleeve from the camera.

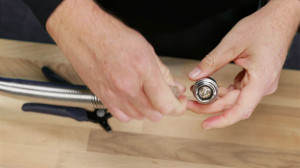
Step 6
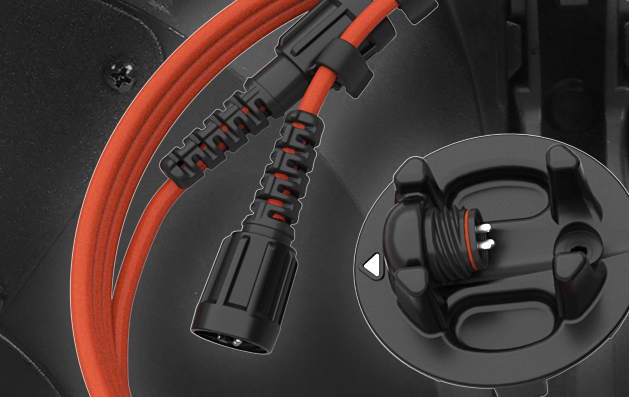
Pull the camera straight out of the sonde’s socket.
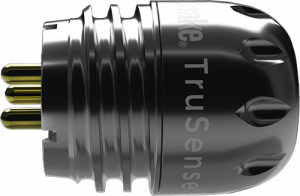
Notice: To avoid damaging the camera’s connector pins, do not bend or twist while pulling the camera out of the connector.
Installing a Camera Head
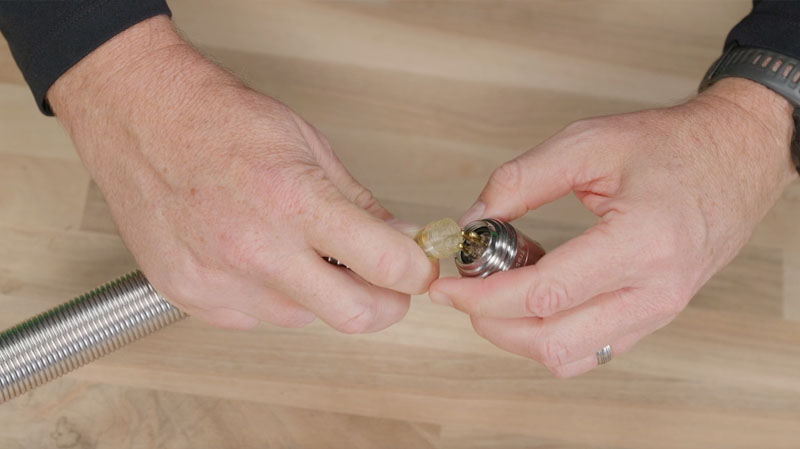
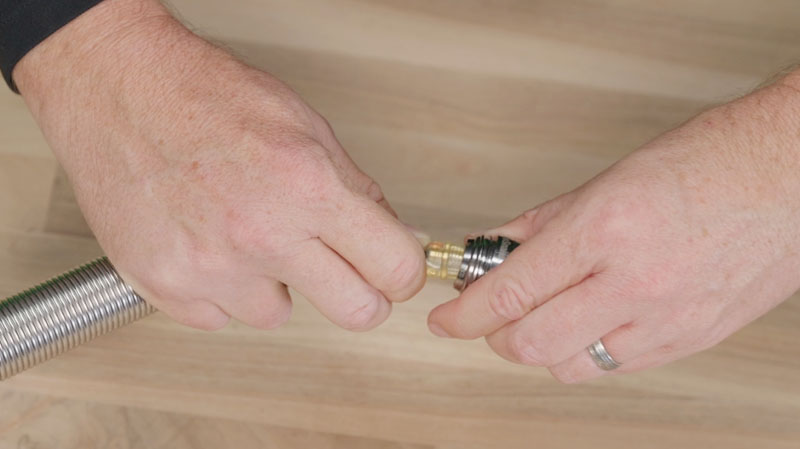
Step 1
Align the camera head pins with the sonde’s socket and push together.
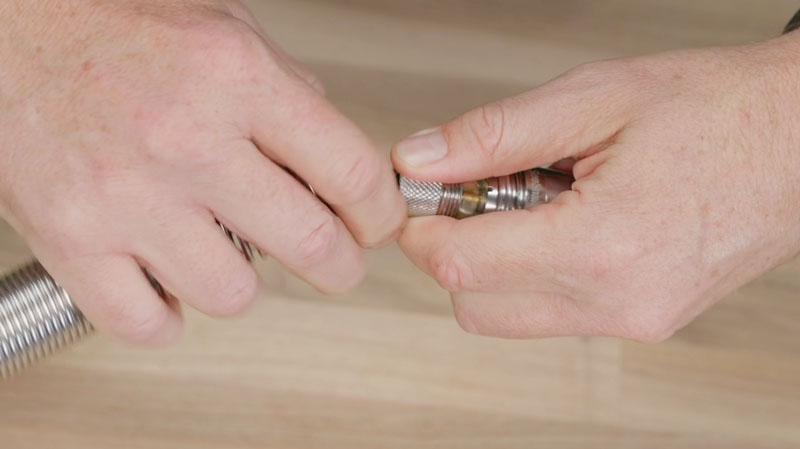
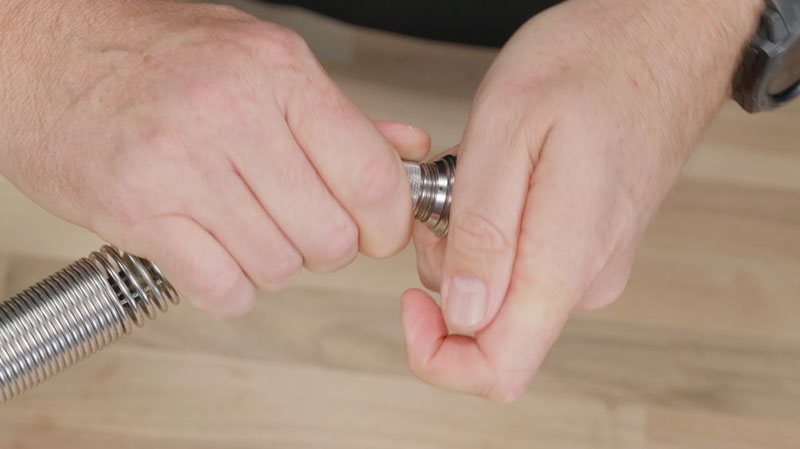
Step 2
Thread the locking sleeve onto the camera and tighten by hand.
Step 3
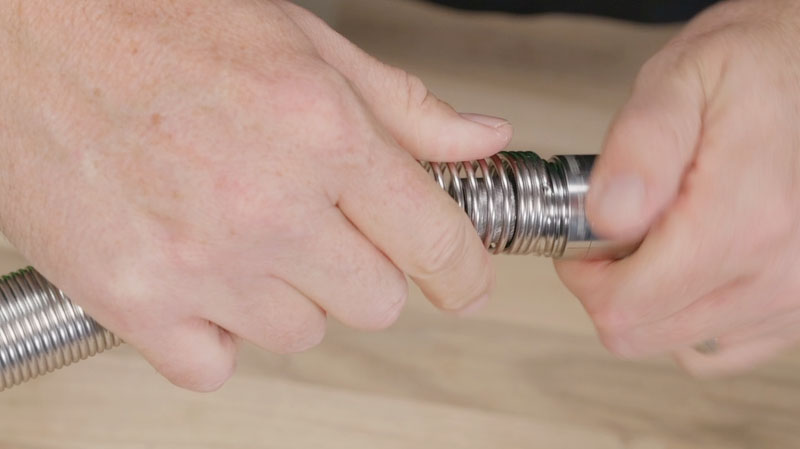
Make sure the safety cables are straight when you screw the camera onto the spring. In order do so, backwind the camera 2 turns (counter-clockwise).
Step 4
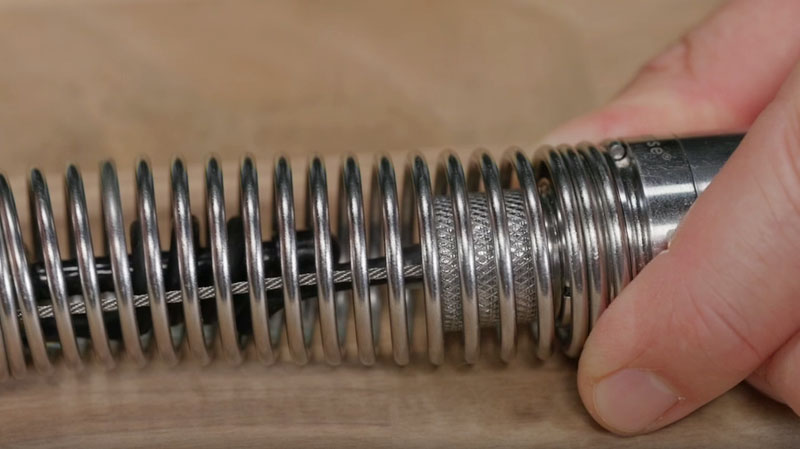
Thread the spring onto the camera until the end of the spring is flush against the camera head.
Notice: Do not over-tighten the spring.
Part Catalog Numbers
For camera head information, contact your local service center. Find your nearest service center here.

