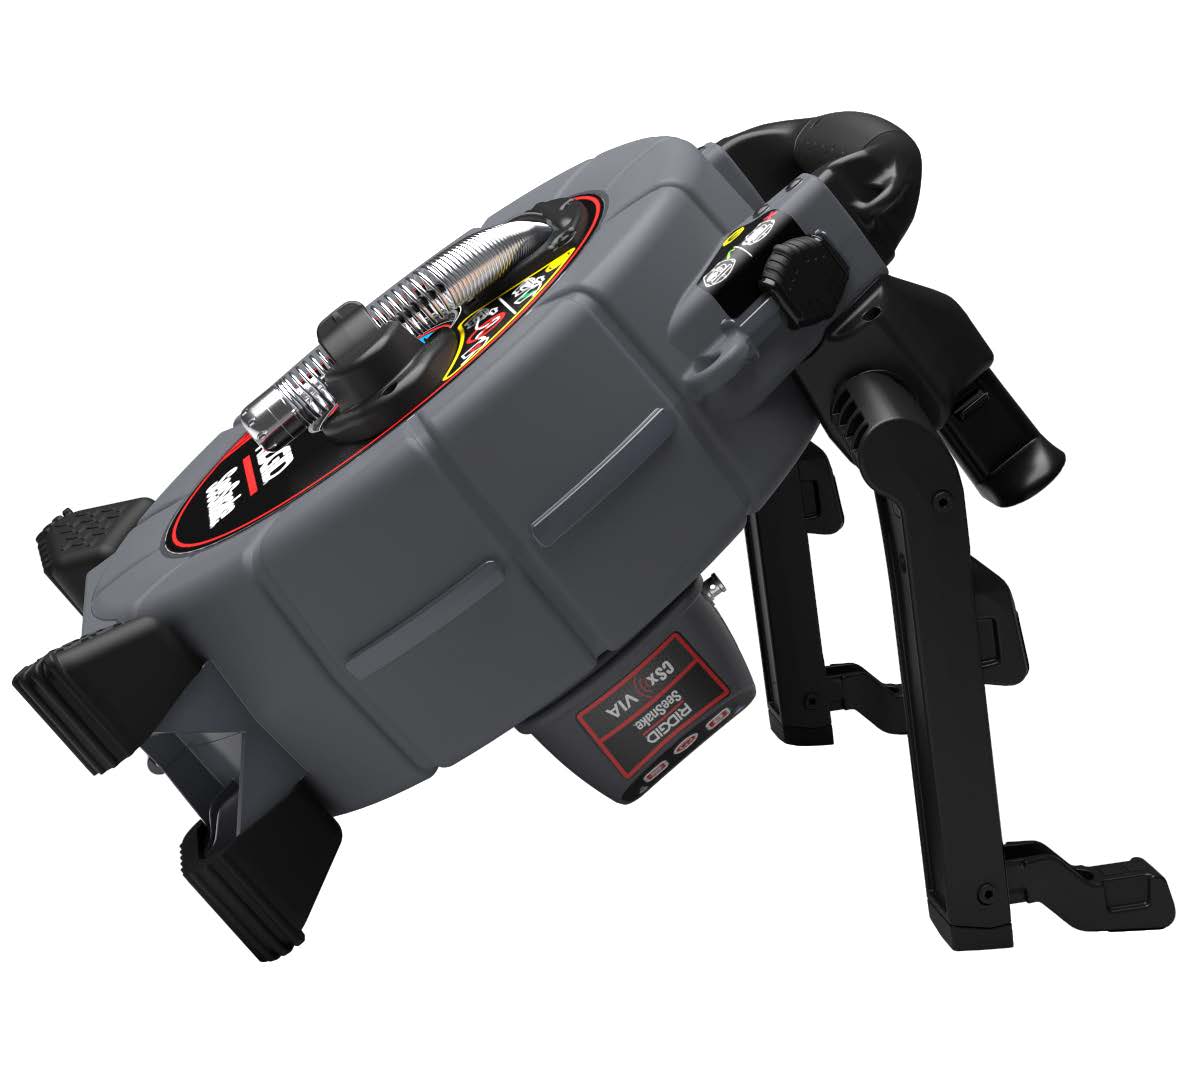
Clamshell Reel Kickstand Instructions
Follow these instructions to learn how to set up your kickstand for the RIDGID® SeeSnake® microDrain™, microReel™, and nanoReel™ systems.
Included
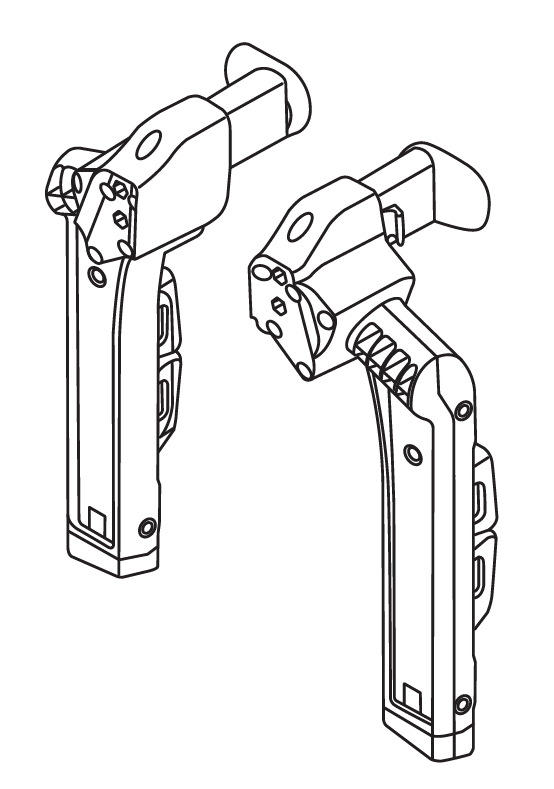
1x Kickstand
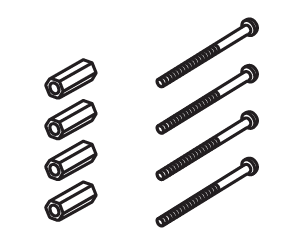
-
4x spacers
-
4x 2.5” screws
Required
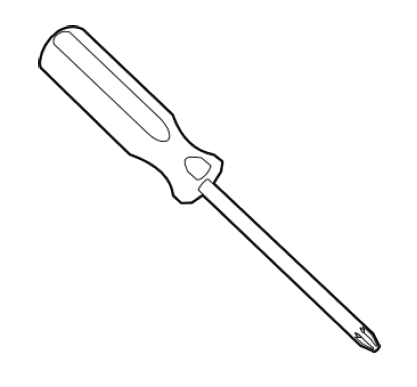
1x #2 Phillips
Carry Handle Disassembly
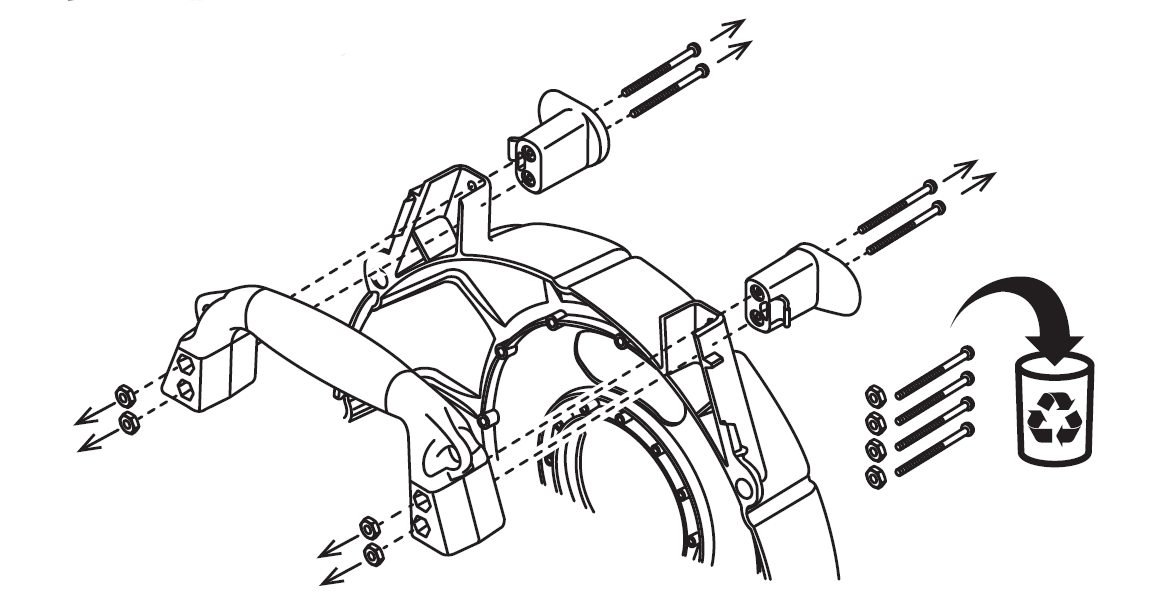
Remove screws and washers from carry handle, then remove carry handle.
Note: If disposing of screws and washers please do so properly.
Carry Handle Assembly

Thread screws through carry handle, drum frame, and into kickstand. Screw into place.
CA-350 Handle Disassembly
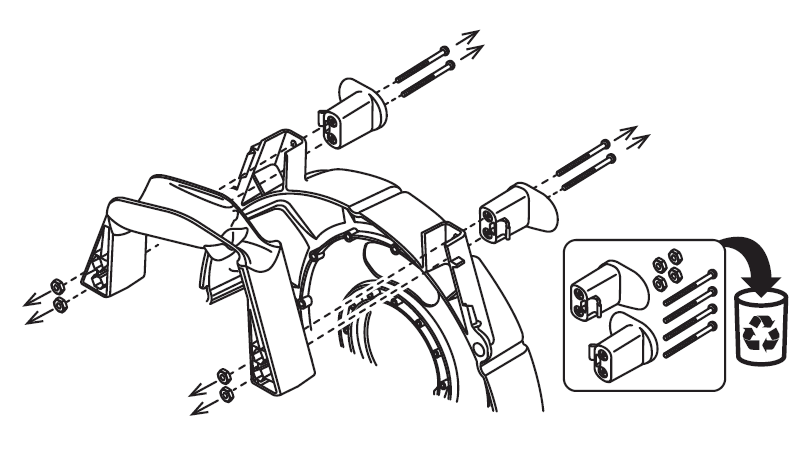
Remove screws and washers from CA-350 handle, then remove CA-350 handle.
Note: If disposing of screws and washers please do so properly.
CA-350 Handle Assembly
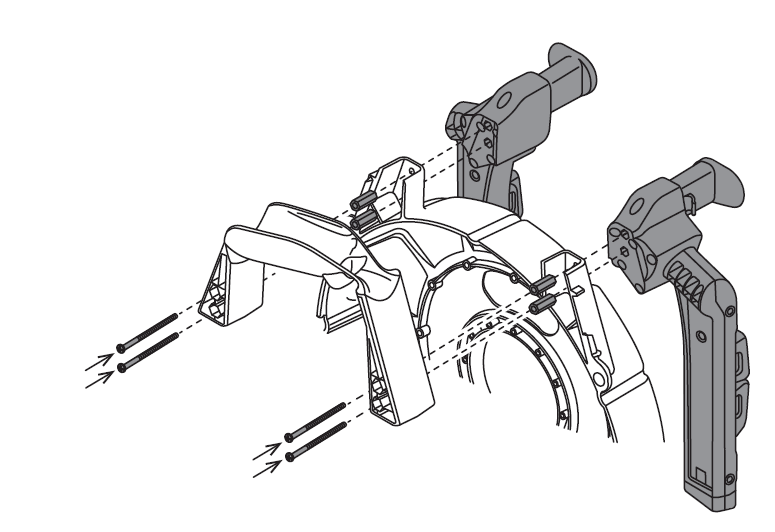
Insert spacers into CA-350 handle. Thread screws through carry handle, drum frame, and into kickstand. Screw into place.
Kickstand In Use
