Camera Spring
Introduction

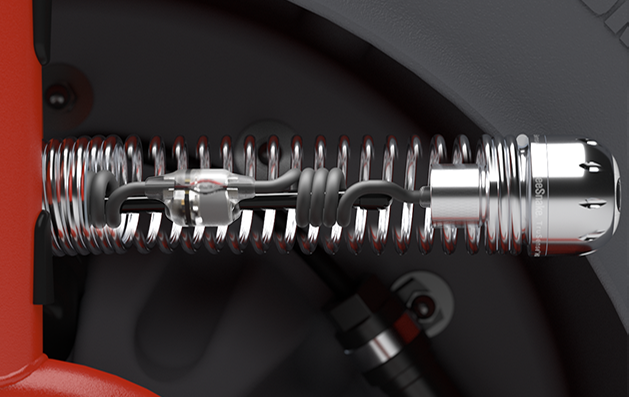
This guide explains how to remove and install the spring on a SeeSnake camera reel. Removing the spring may be needed for service, troubleshooting, or to inspect components inside the spring.
Tools & Materials
- SeeSnake Spanner Wrench
Contents
Removing a Camera Spring
Step 1
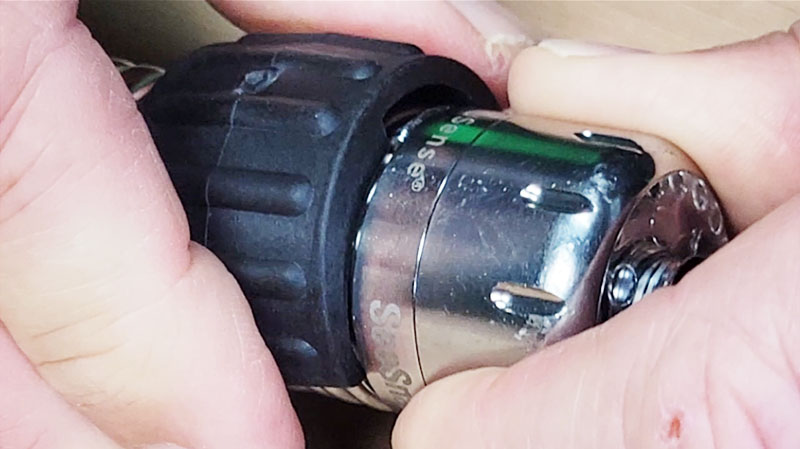
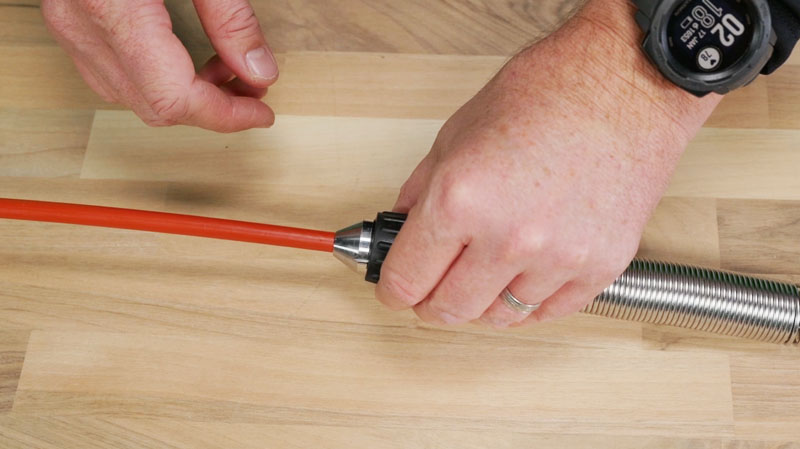
To remove the camera spring, first remove the camera head.

Step 2
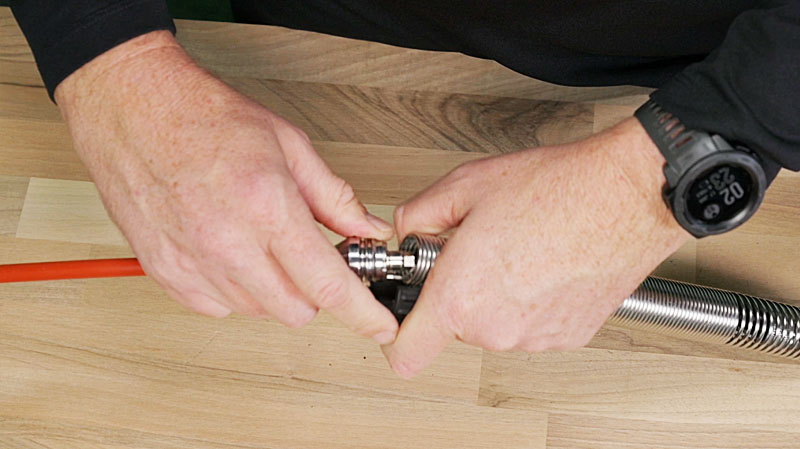
With the camera head removed, use the spanner wrench to unscrew the termination end of the spring.
Step 3
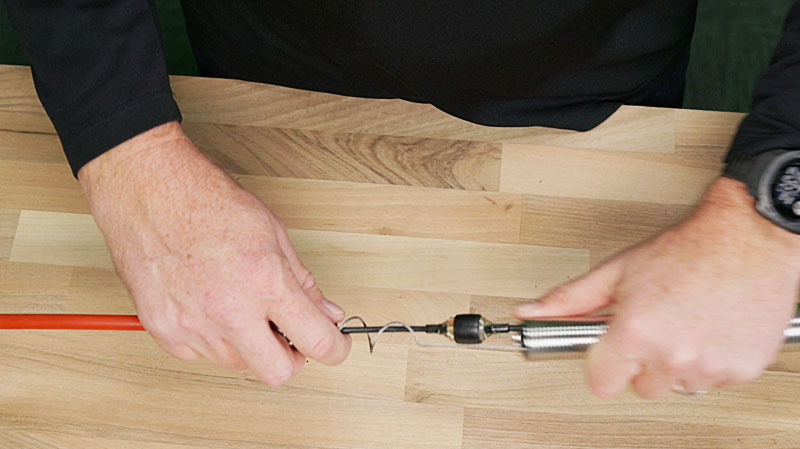
Once the spring is disengaged, carefully slide the spring off the termination and transmitter.
Installing a Camera Spring
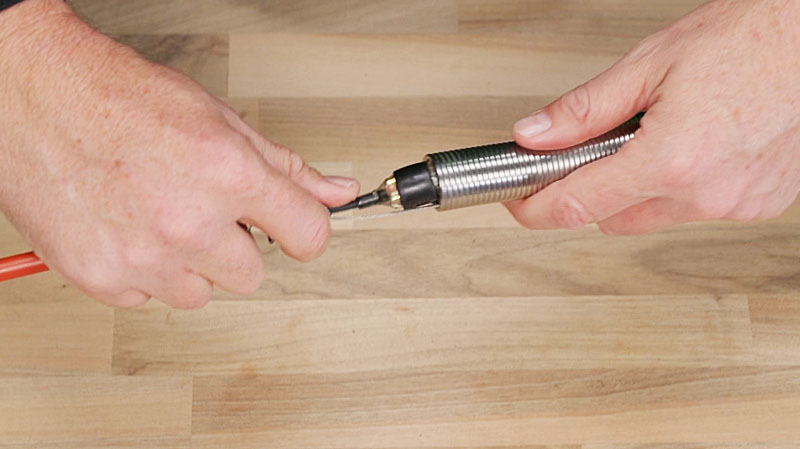
Step 1
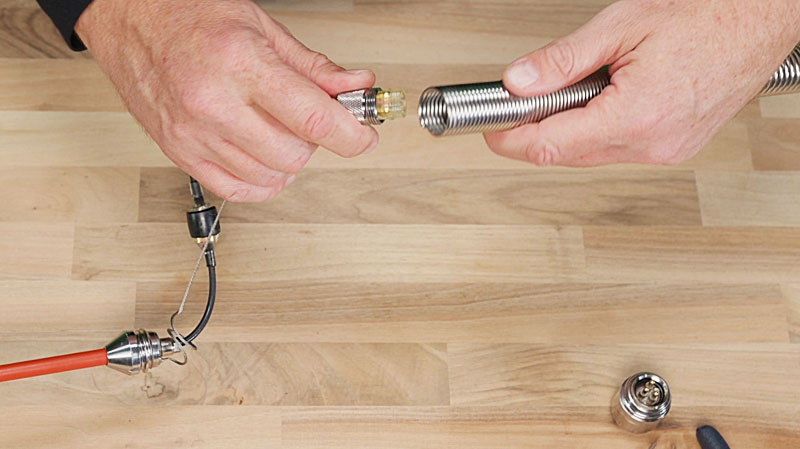
Orient the spring with the tight coils towards the termination and feed the wires through.
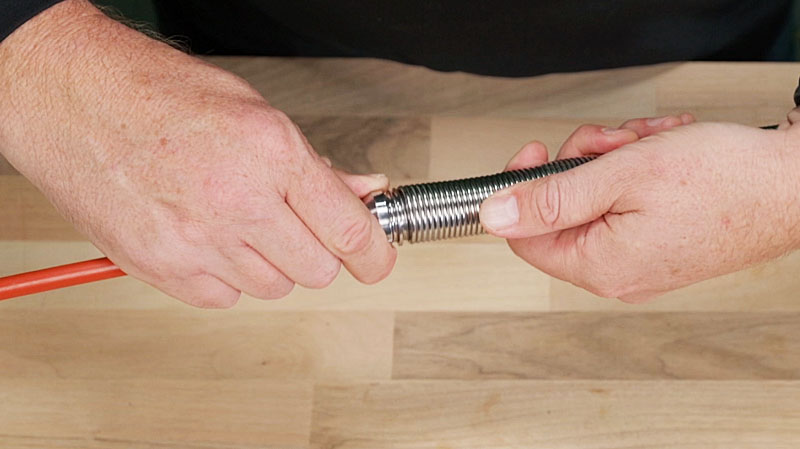
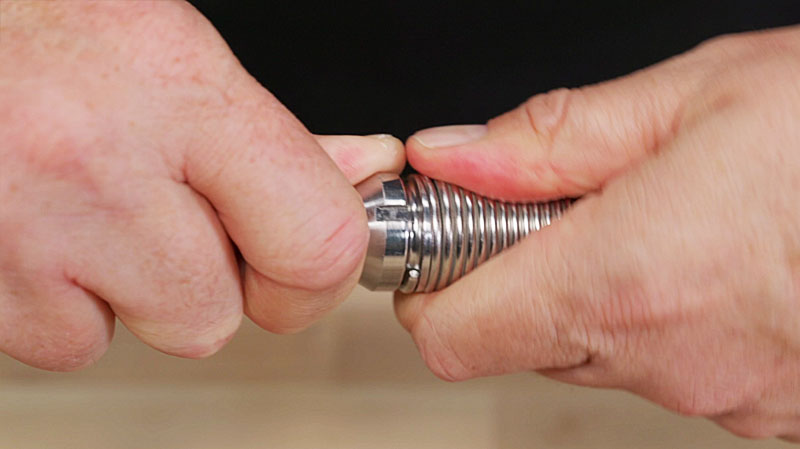
Step 2
Thread the spring back onto the termination until it is flush with the rear spring shell, making sure to stop when the end of the spring is right against the rear spring shell.
Notice: Do not over tighten the spring.
Part Catalog Numbers
Springs
| RIDGID Part Number | Item |
|---|---|
| 14823 | Spring – Standard |
| 22733 | Spring – Mini |
| 22728 | Spring – Mini Pro, rM200A, Compact M40 |
| 53743 | Inner Spring – rM200B |
| 51818 | Outer Spring – rM200B |
| 37373 | Spring – microREEL, Compact 2/ C40 |
| 35883 | Spring – microDRAIN |
| 42193 | Spring – NANOreel |

