Field Reporting with SeeSnake Monitors
One of the most valuable features of SeeSnake monitors is their ability to automatically build comprehensive, professionally formatted reports from the field. Reports greatly enhance the way you communicate your inspection results with customers, and when time is of the essence, field reporting is a valuable asset for diagnostic professionals on the go. Read below to find out how you can quickly create and distribute reports—all without leaving your worksite.
This article applies to the following SeeSnake pipe inspection monitors: CS12x, CS65x, CS6x, CS6xPak, CS6x Versa, CS65, CS6, and CS6Pak.
Reviewing the Job
Press the review key or the play key (CS65x and CS65) to access the job review screen. From there, you can enter job details, add notes to media, mark certain media to be excluded from the report, and delete media.
Entering Job Details
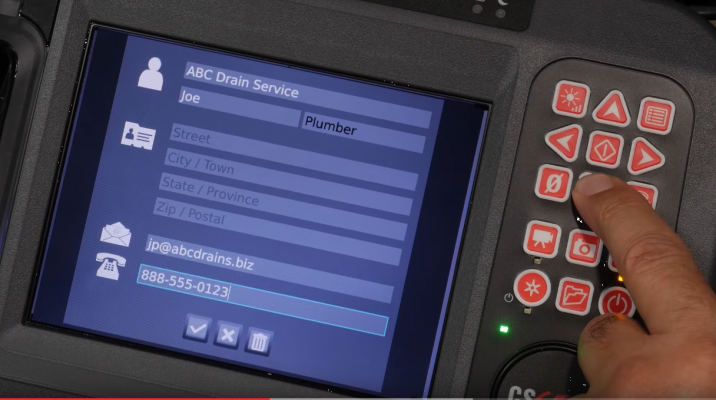
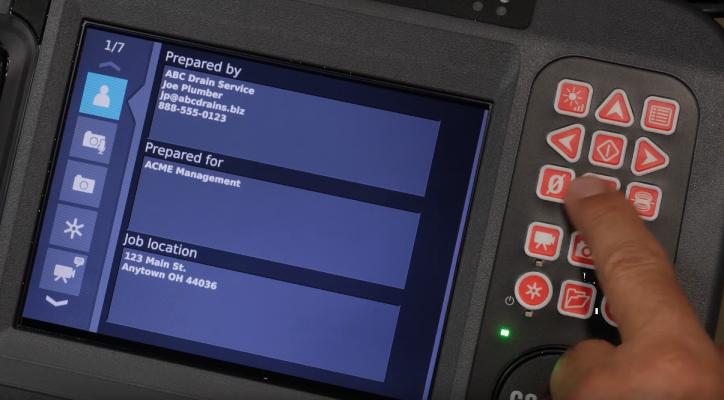
From the job review screen, navigate to the contact tab to enter details about your job, including company information, customer information, and job location.

Adding Notes to Media
You can also add notes to individual media captures (photos, PhotoTalk™ media, standard videos, or Autolog videos) from the job review screen.

Excluding Media
By default, all captured media is included in the job report. You can mark specific captures to be excluded from the report without deleting them from the job permanently. Only included media will be accessible on the USB drive and in HQ.
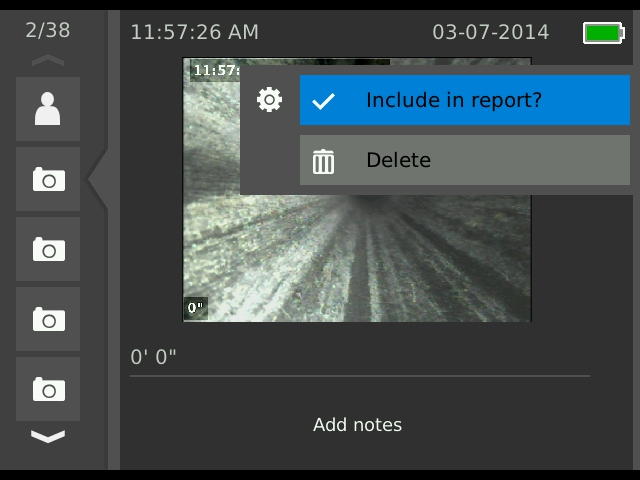
![]() To exclude media, press the Right Arrow key to highlight the settings icon and toggle between include and exclude.
To exclude media, press the Right Arrow key to highlight the settings icon and toggle between include and exclude.

Deleting Media
To permanently delete media from the job, select the settings icon and choose Delete. This action affects all storage devices.
Previewing the Report
![]() To preview your report before delivery, select the report preview tab from the job review screen.
To preview your report before delivery, select the report preview tab from the job review screen.
Delivering Reports
If you’re ready to deliver your report to your customer, give your customer the USB drive that contains the report. Make sure that it is safe to remove the USB drive before removing.
If you want to view a report as it will be seen by your customer, insert the USB drive into a computer and open the file named “report.html.”
To further customize the report or make additional edits, insert the USB drive into a computer that has HQ installed. See Customized Reporting with HQ for more information.
