Installing the CountPlus
Read this article to learn how to retrofit the CountPlus distance measuring device to RIDGID® SeeSnake® Standard and Mini camera reels.
Steps
Before beginning, ensure that the reel is not plugged into a SeeSnake monitor.
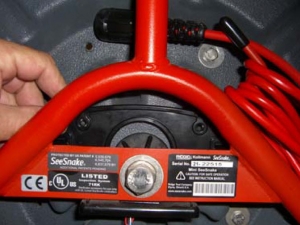
- Slide the magnet plate over the reel’s axle hub so that the curved section of the plate fits exactly over the bushing. The magnets on the plate should be facing toward the reel.

- Use the four black self-tapping screws to secure the plate to the drum, screwing directly into the plastic surface. Notice: Do not over-tighten the screws as it may strip the threads.
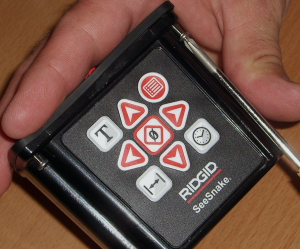
- Align the rubber gasket onto the top of the CountPlus, making sure the screw holes align. Start a screw through each of the four corners on the CountPlus and gasket.

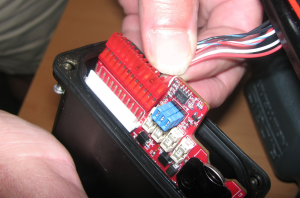
- Plug the red connector into the CountPlus, making sure the ridge faces the white lip inside the container and that the pins align with the plug.

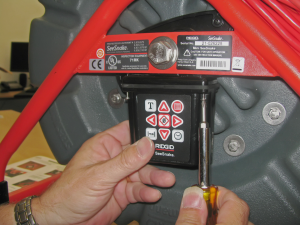
- Align the screws with the receptacles below the axle bushing. Attach the CountPlus to the reel by tightening the screws.

