Pan and Zoom on CSx Monitors
The Pan and Zoom tool is a feature included on all CSx TruSense-capable devices and can work with any SeeSnake camera reel. To enable Pan and Zoom, ensure your CSx device has the most recent software*.
* Please note that if you do not see this icon ![]() in the menu then your CSx TruSense-capable device is not running the most recent software.
in the menu then your CSx TruSense-capable device is not running the most recent software.
What is Pan and Zoom?
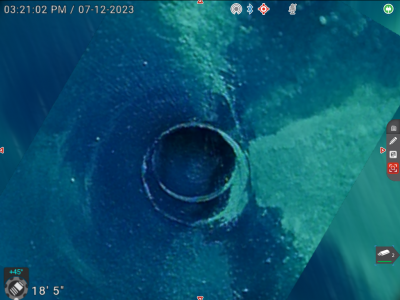
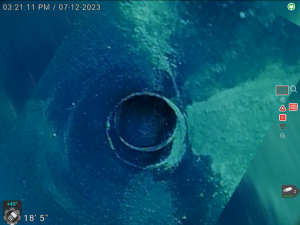
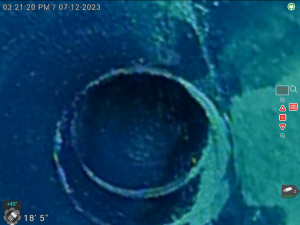
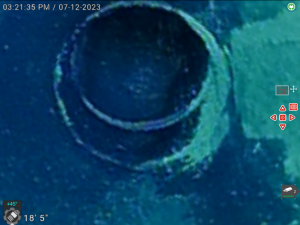
Panning and Zooming is a helpful way to highlight areas of interest within the image displayed on a CSx device. When you use this feature, the CSx device magnifies the image on the screen, allowing you to pan, or move the view within the enlarged image, to view the area of interest.
How to Pan and Zoom
Products needed: SeeSnake TruSense-enabled camera reel connected to a CSx TruSense-capable device.
- Open the right Quick Access Menu by pressing the right arrow key
in the live feed.
- Use the down arrow
to highlight the pan/zoom icon, then press the Select key to open the tool.
- Press the up arrow key
to zoom in and the down arrow key
to zoom out. When zoomed in, the monitor will display a red rectangle within a larger white rectangle. The white rectangle represents the full camera image, while the red rectangle shows the area of the image you have zoomed into.
- Once you have zoomed in, press the Select key
again to enter Pan mode. Use the four arrow keys to pan up, down, left, and right within the magnified image.
- Press the Menu key to close Pan/Zoom.
Video
Watch this helpful video for a demo of the Pan and Zoom tool in action!


