TruSense Updates
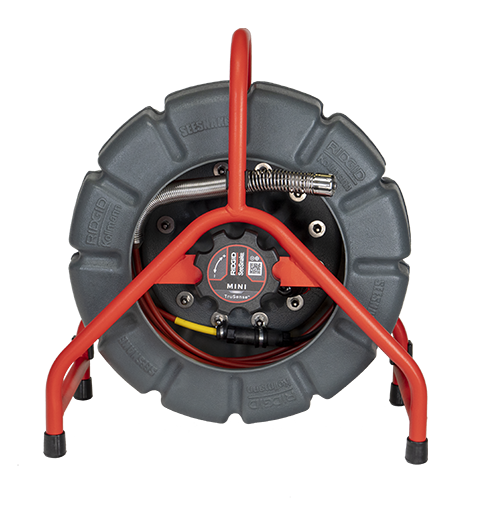
SeeSnake® camera reels with TruSense® technology bring powerful data capability to plumbing diagnostics. Multiple on-camera sensors provide superior imaging quality and vital information about the in-pipe environment, allowing you to see more and know more about an inspection than ever before.
TruSense Sensors
- High dynamic range image sensor – allows a greater ratio of bright and dark areas to be displayed in the image at the same time, providing superior clarity and detail.
- TiltSense™ inclinometer — measures the camera’s degree of tilt, giving you a useful indicator of the camera’s angle as it lays inside the pipe.
Enabling TruSense Features
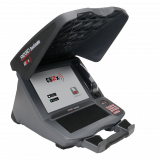
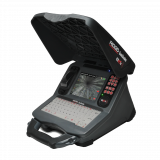
Updating your Monitor
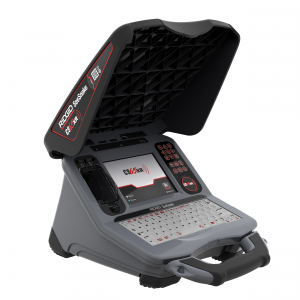
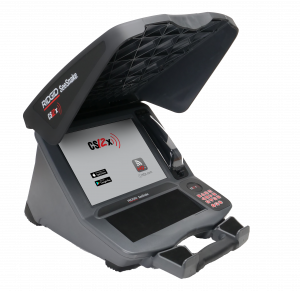
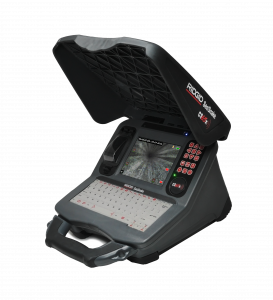
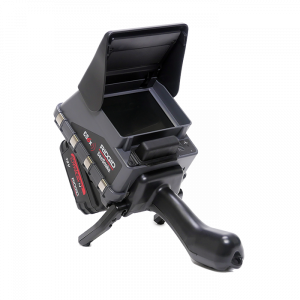
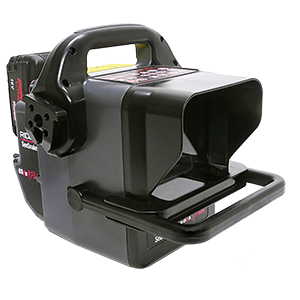
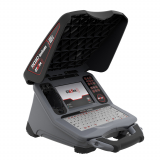
You can update your monitor’s software using HQ software or manual download. You will need a USB drive to update.
Your monitor must have version 1306 installed before you can install the TruSense software update. Follow the instructions below to update to 1306 using HQ or by manual download. This page will be updated when the TruSense software update is released.
To update using HQ, you will need a USB drive. The drive must have FAT32 formatting, 2 GB of available space, and a capacity less than 4 TB.
1. Open HQ on a PC. 
Click here if you don’t have HQ installed.
2. Click the Update button in the top-right corner and select the product.
3. Follow the steps in HQ.
4. Power on the monitor and follow the on-screen prompts.
The process will take several minutes and the monitor reboots several times. The monitor alerts you when installation is complete. If the update is not successful, please try again. You can force an update by pressing the still photo key while powering on the device.
1. Insert a USB drive into the computer.
2. Click the button to download the latest CSx software update onto your PC.
3. Open the zip file that you have just downloaded.
4. Click the Extract tab at the top of the folder view, then click Extract All.
5. Click Browse to find the location of the USB drive on your computer. Click the location of the USB drive, then click Select Folder.
6. Click Extract.
7. Safely eject the USB drive from the computer and insert it into your monitor.
8. Power on the monitor and follow the on-screen prompts.
The process will take several minutes and the monitor reboots several times. The monitor alerts you when installation is complete. If the update is not successful, please try again. You can force an update by pressing the still photo key while powering on the device.

