Installing a Camera onto a SeeSnake Camera Reel

Read this article to learn how to install a camera onto a RIDGID® SeeSnake® camera reel.


Steps

  1. Align the camera head pins with the sonde’s socket and push together.


Aligning the camera head pins
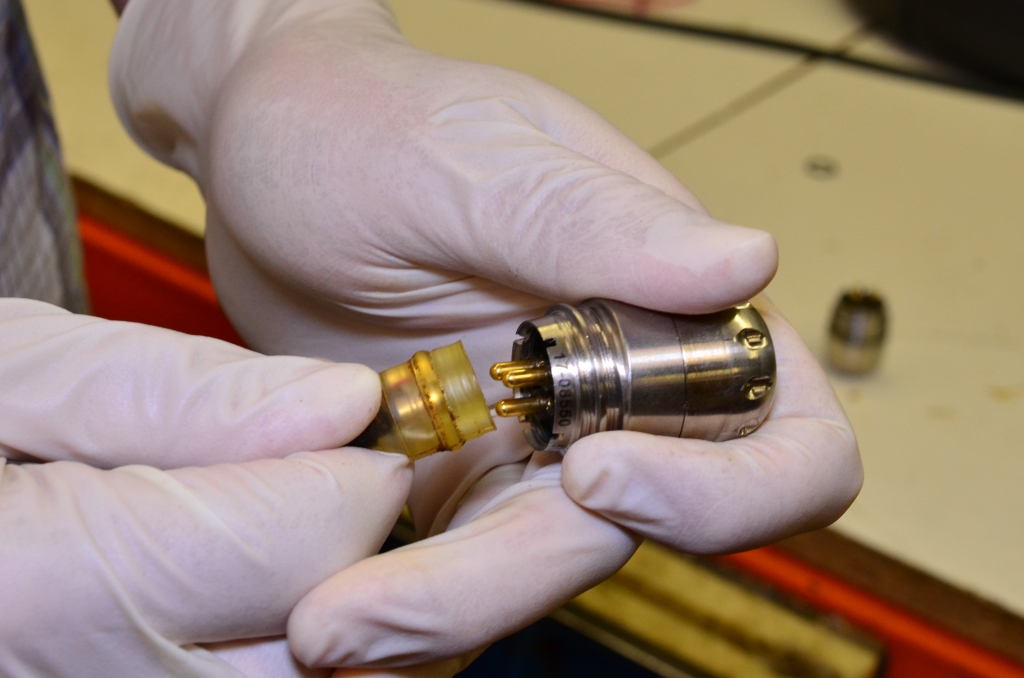
  1. Slide push cable locking sleeve onto the camera.


Sliding the locking sleeve
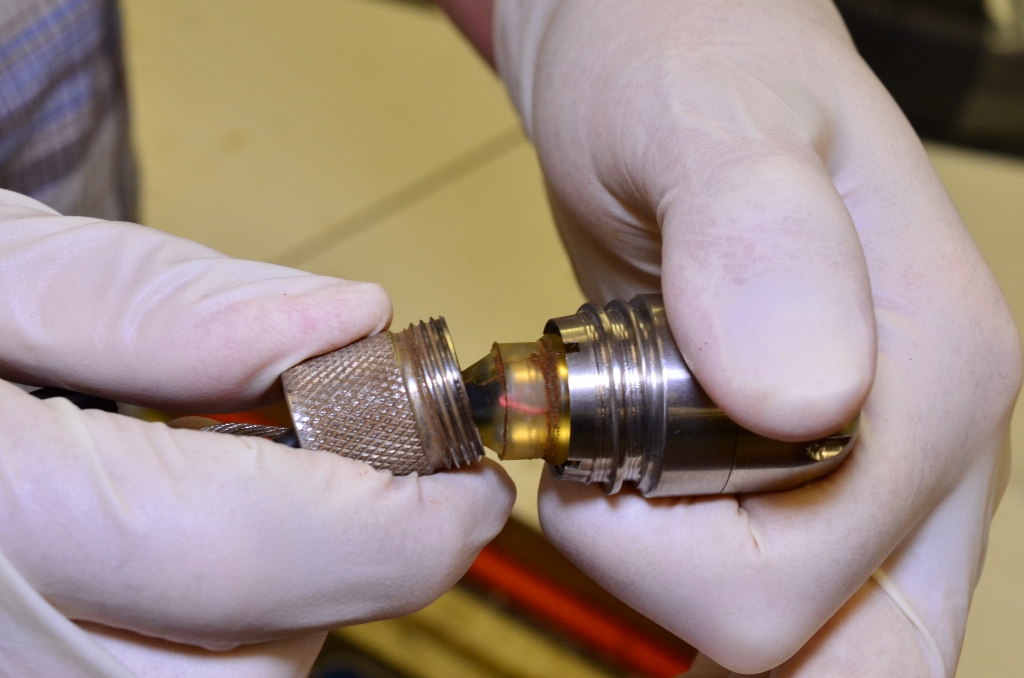
  1. To make sure the safety cables are relatively straight when you screw the camera onto the spring, twist the camera back (counter-clockwise) approximately 1.5 turns.


Twisting the camera counter-clockwise
  1. The sonde will twist when you thread the camera onto the spring. Rotate the camera one turn counter-clockwise to counteract the twisting and then thread onto the spring.
Threading camera onto the spring
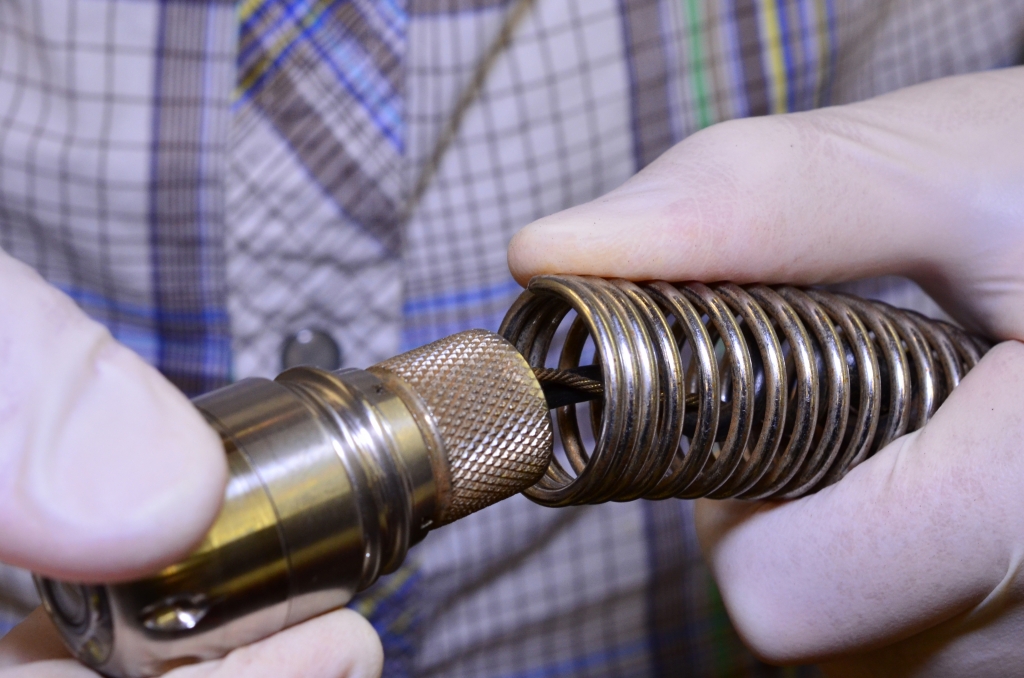
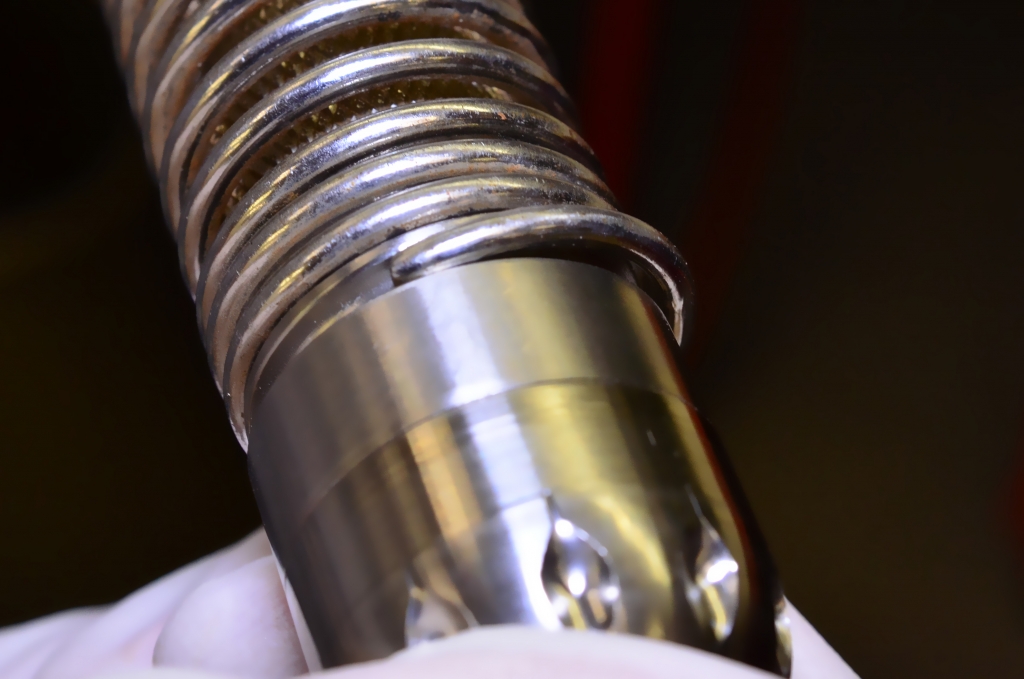
  1. Thread the spring onto the camera until the end of the spring is flush against the camera head.
Spring flush against camera head

Notice: Do not over-tighten the spring.

Over-tightened spring

Pan and Zoom on CSx Monitors

Panning and Zooming is a helpful way to highlight areas of interest within the image displayed on a CSx device.

SeeSnake Pro

Introducing the new RIDGID SeeSnake Mini Pro, our smallest and most rugged self-leveling camera, equipped with TruSense® technology.

Clamshell Kickstand Instructions

Follow these instructions to learn how to set up your kickstand for the RIDGID® SeeSnake® microDrain™, microReel™, and nanoReel™ systems.

SeeSnake Tips & Tricks

Watch this video to learn tips and tricks on getting the most out of your SeeSnake camera reel during a pipe inspection.

Adding Inspector Information

How to save default inspector information to a RIDGID SeeSnake inspection monitor so you can quickly add it to reports.

Go to Top