Pipe Guides for SeeSnake Camera Reels
What are pipe guides?
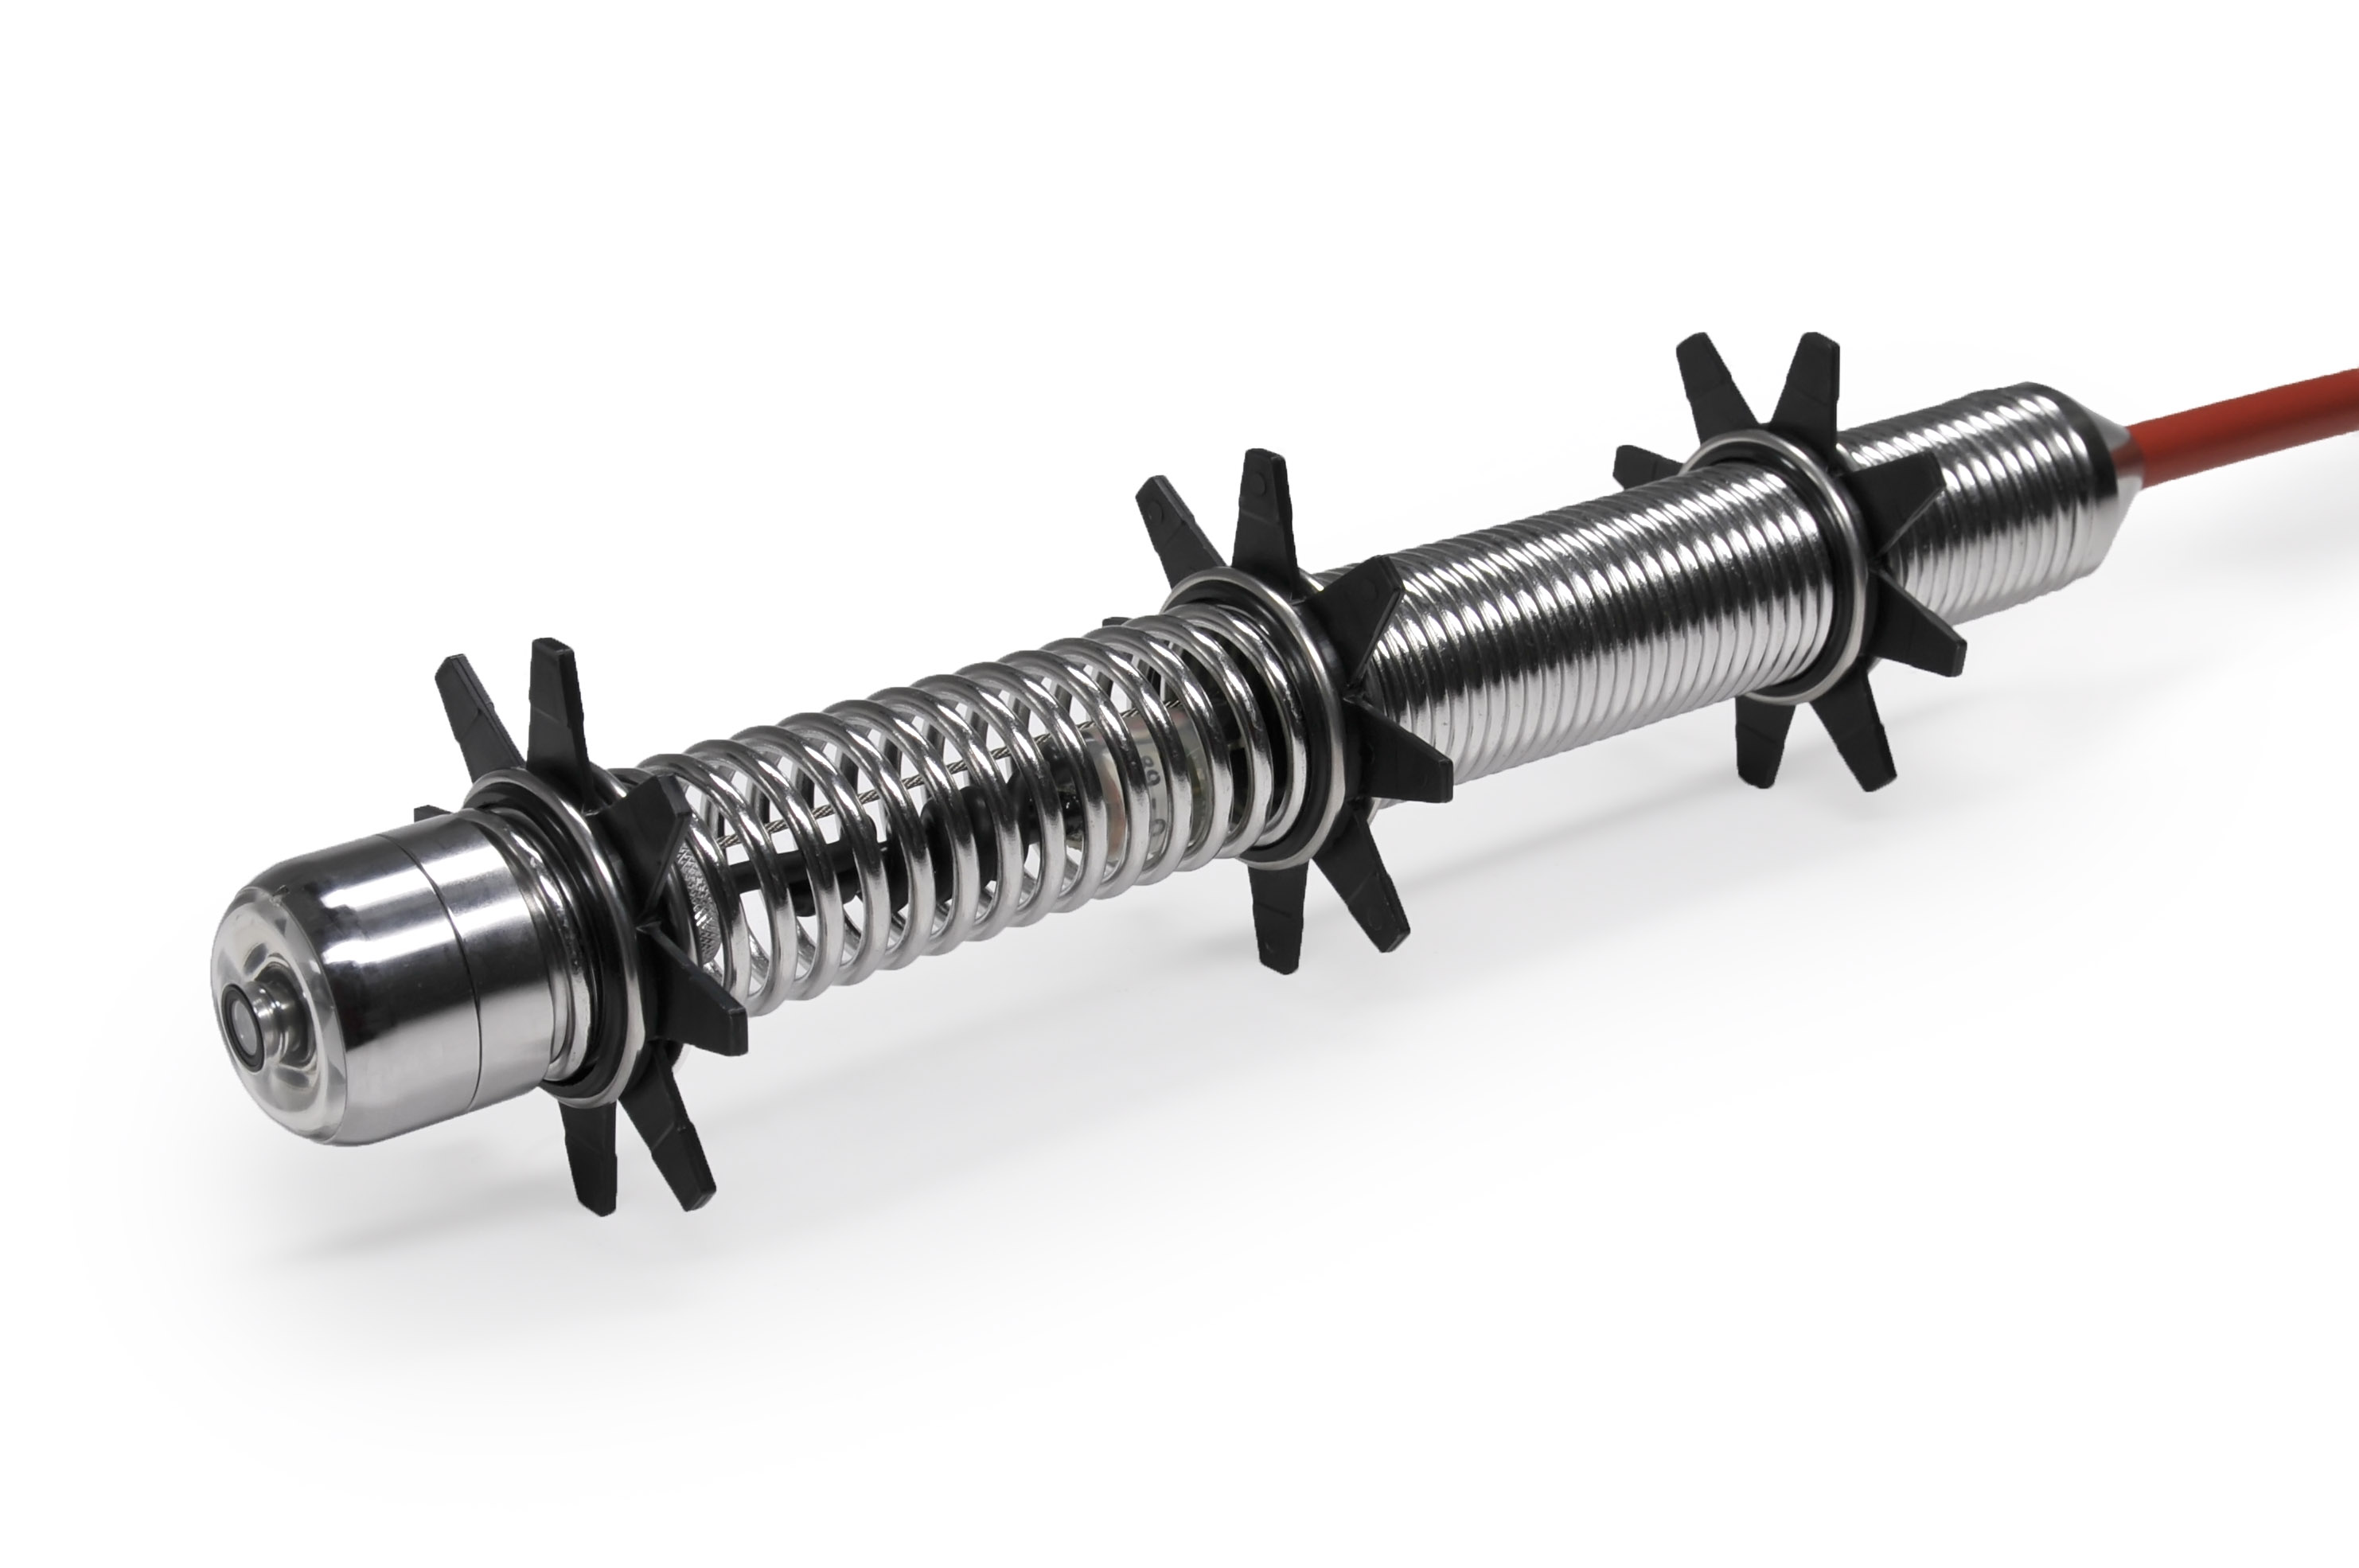
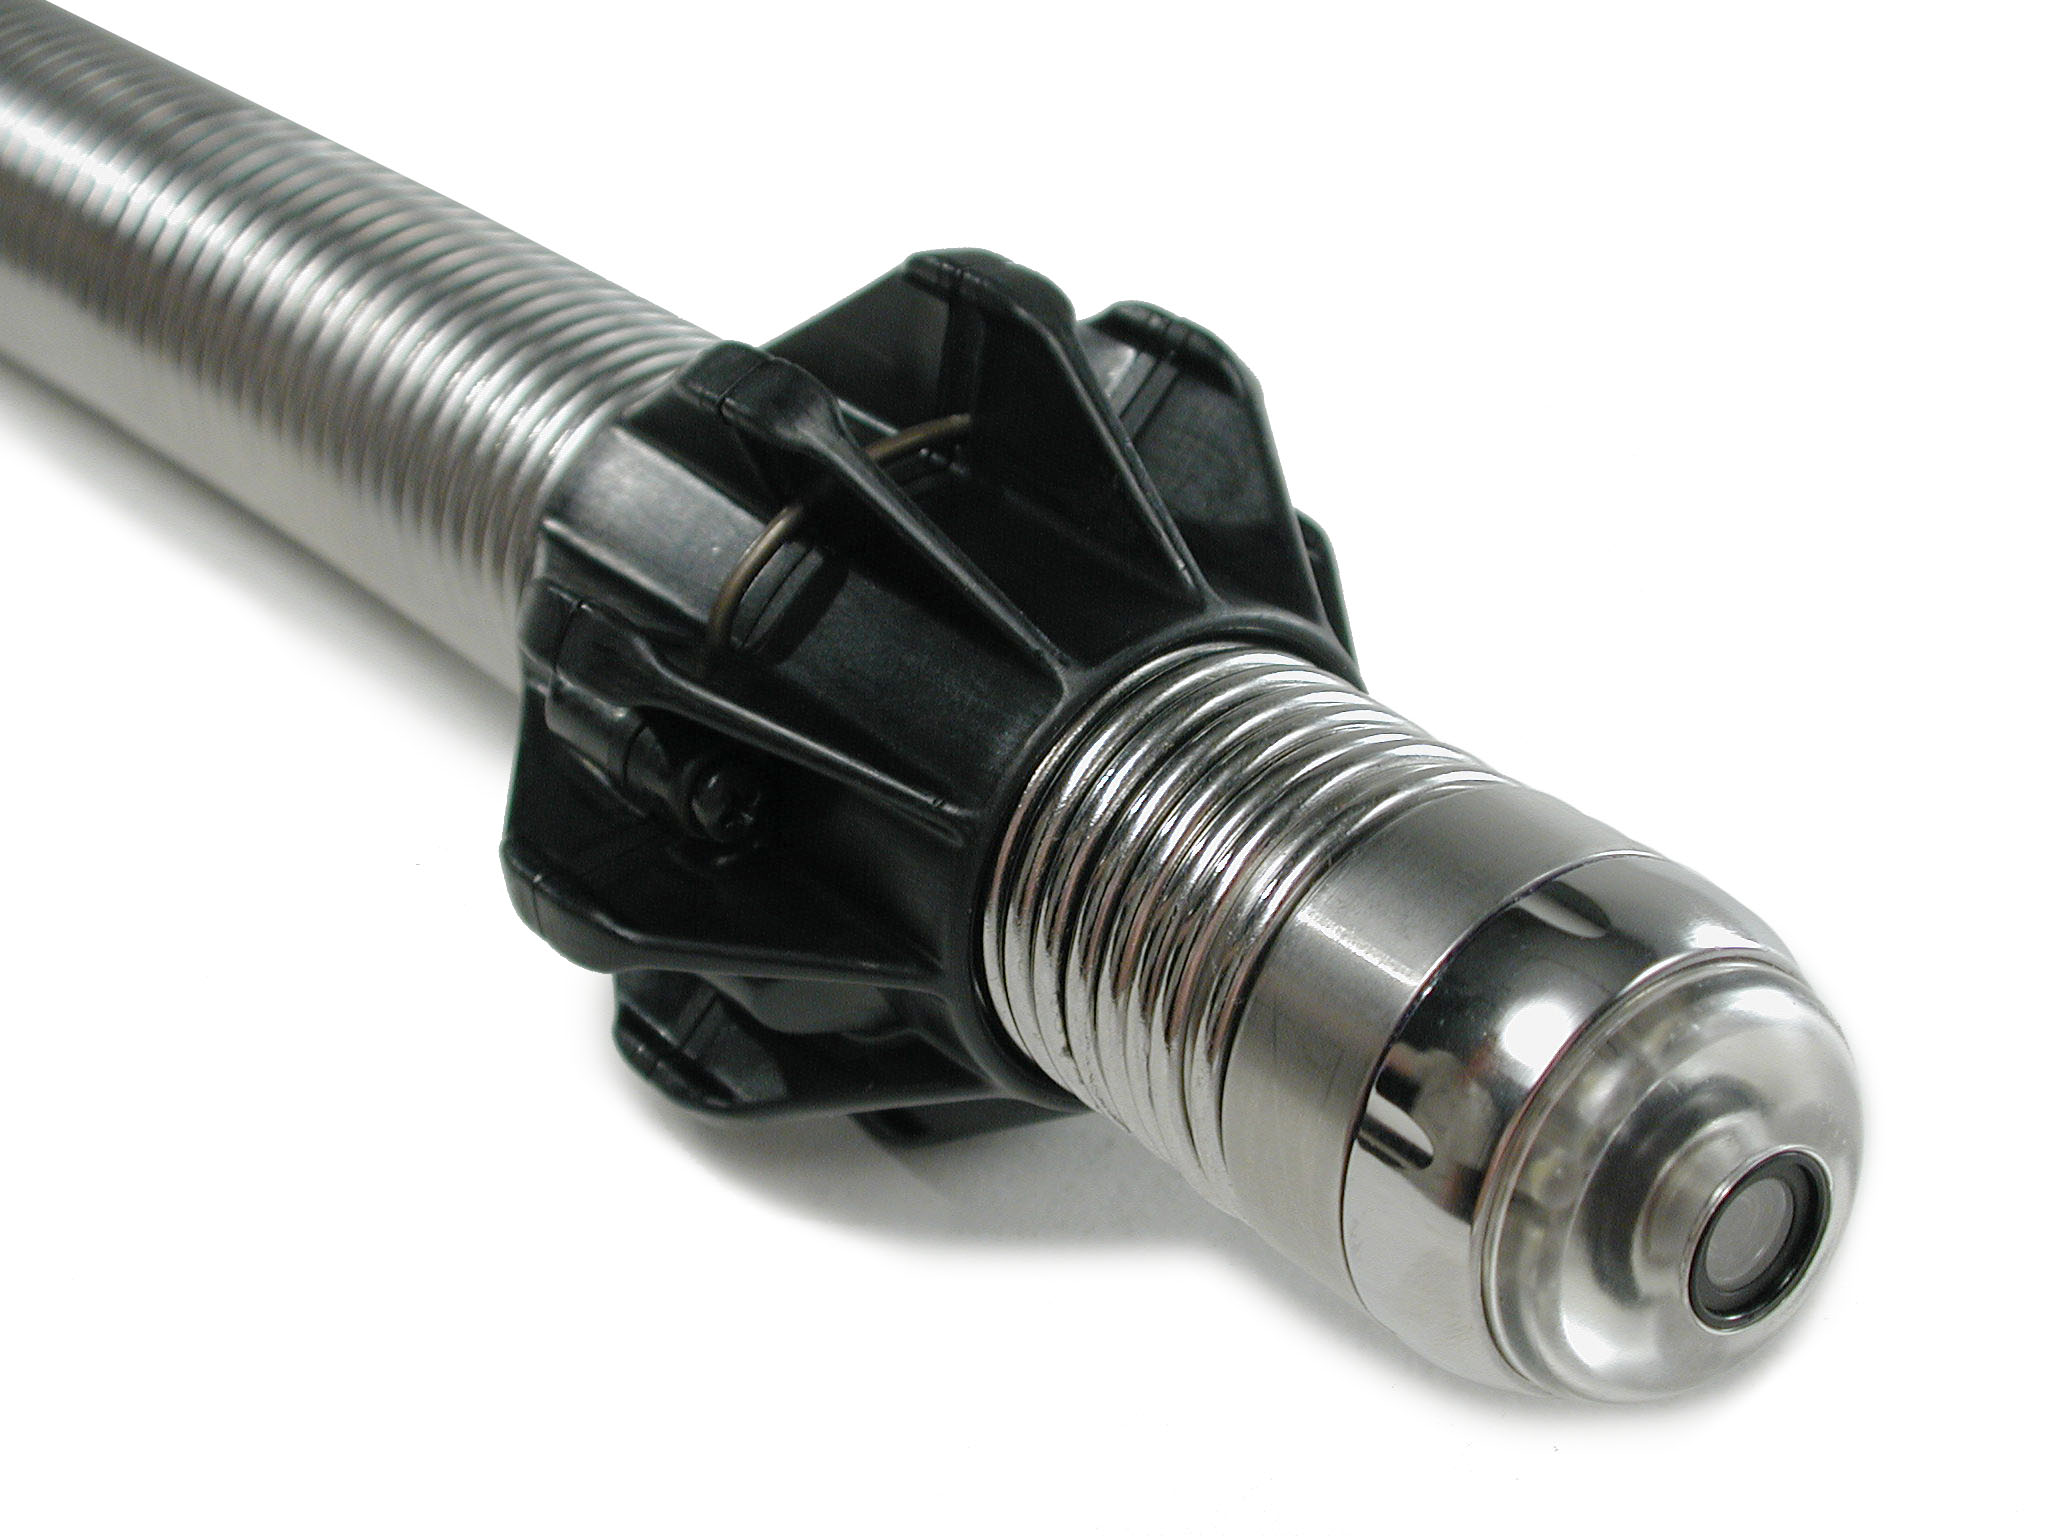
Pipe guides center the camera in the pipe, improve picture quality, and help keep the lens clear. Use pipe guides when possible to reduce wear and tear on the camera reel.
Click on the name of the pipe guide you are using to learn how to install and remove it on a RIDGID® SeeSnake® camera reel.
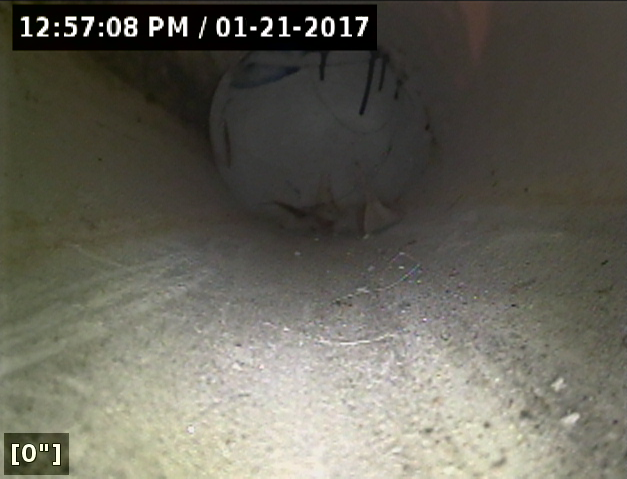
Without pipe guide
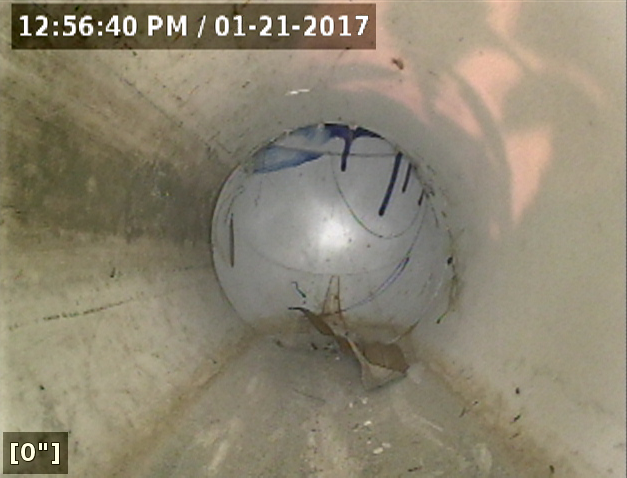
With pipe guide
Star guides support the camera head through the use of vanes extending from the outer ring.
Installation
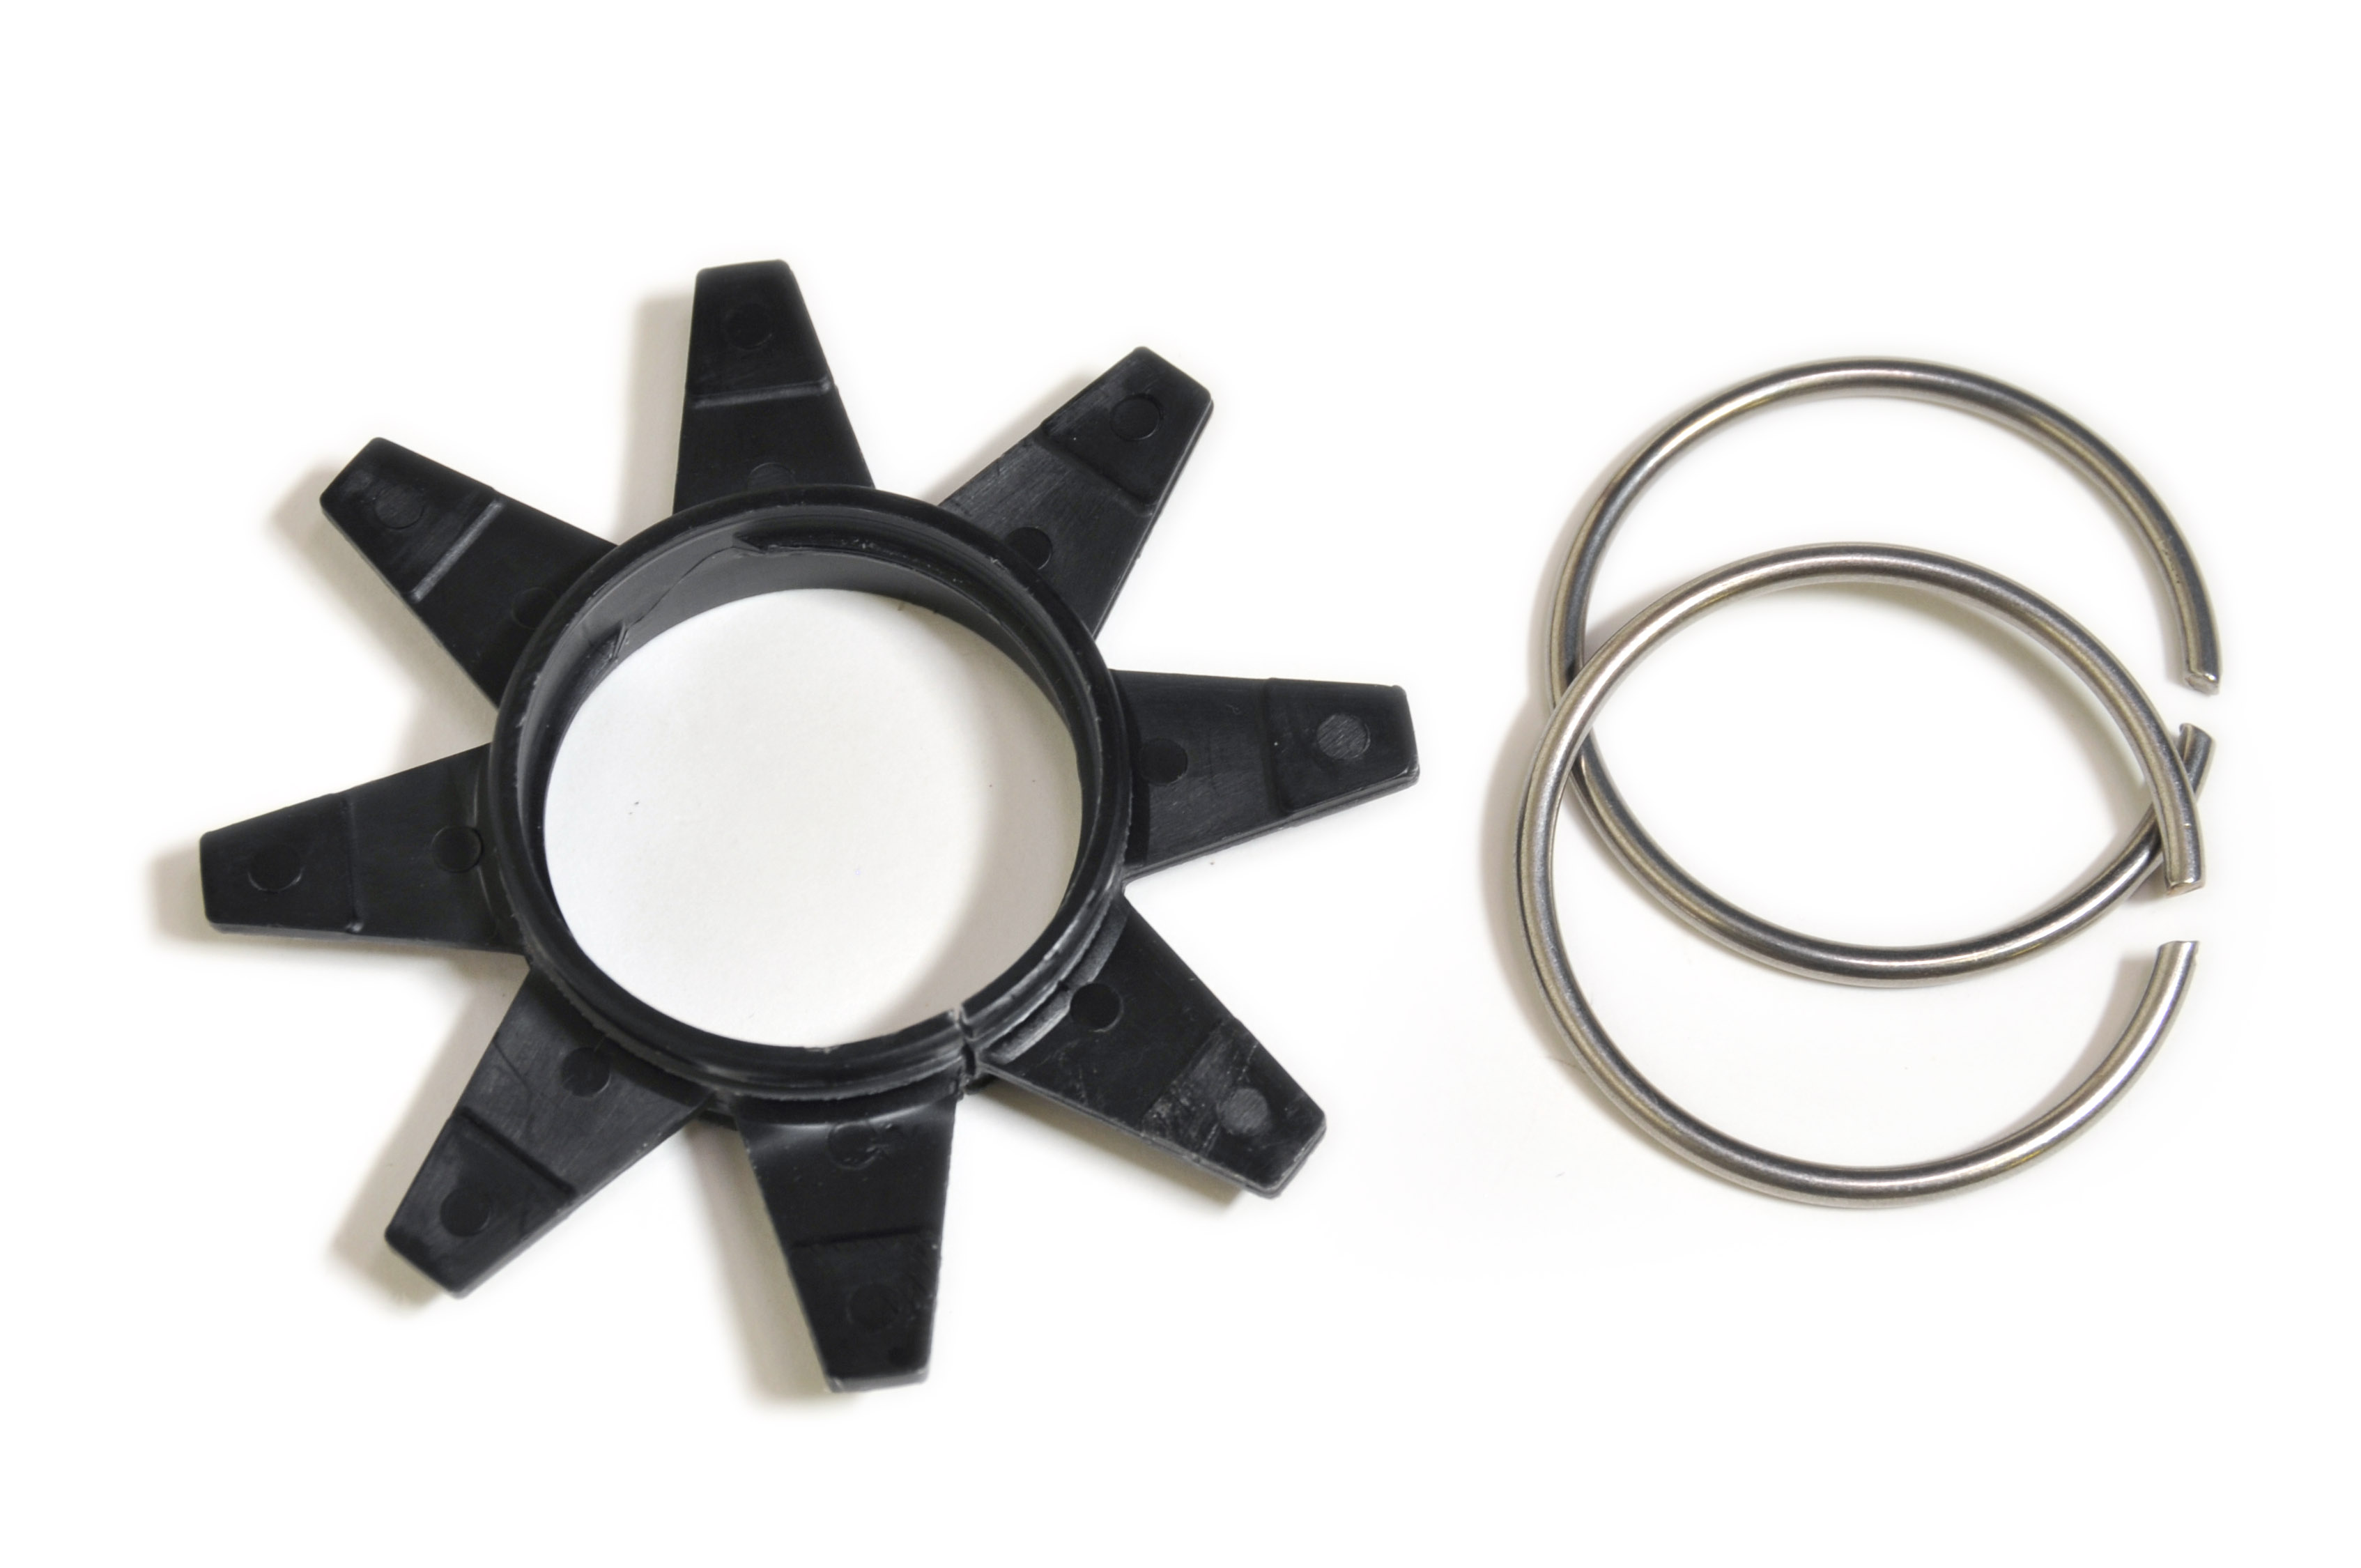
Star guides are held in place with two C-shaped clip rings.
- Select the size of star guide appropriate for the job. Star guides may be trimmed by cutting the individual vanes with scissors.
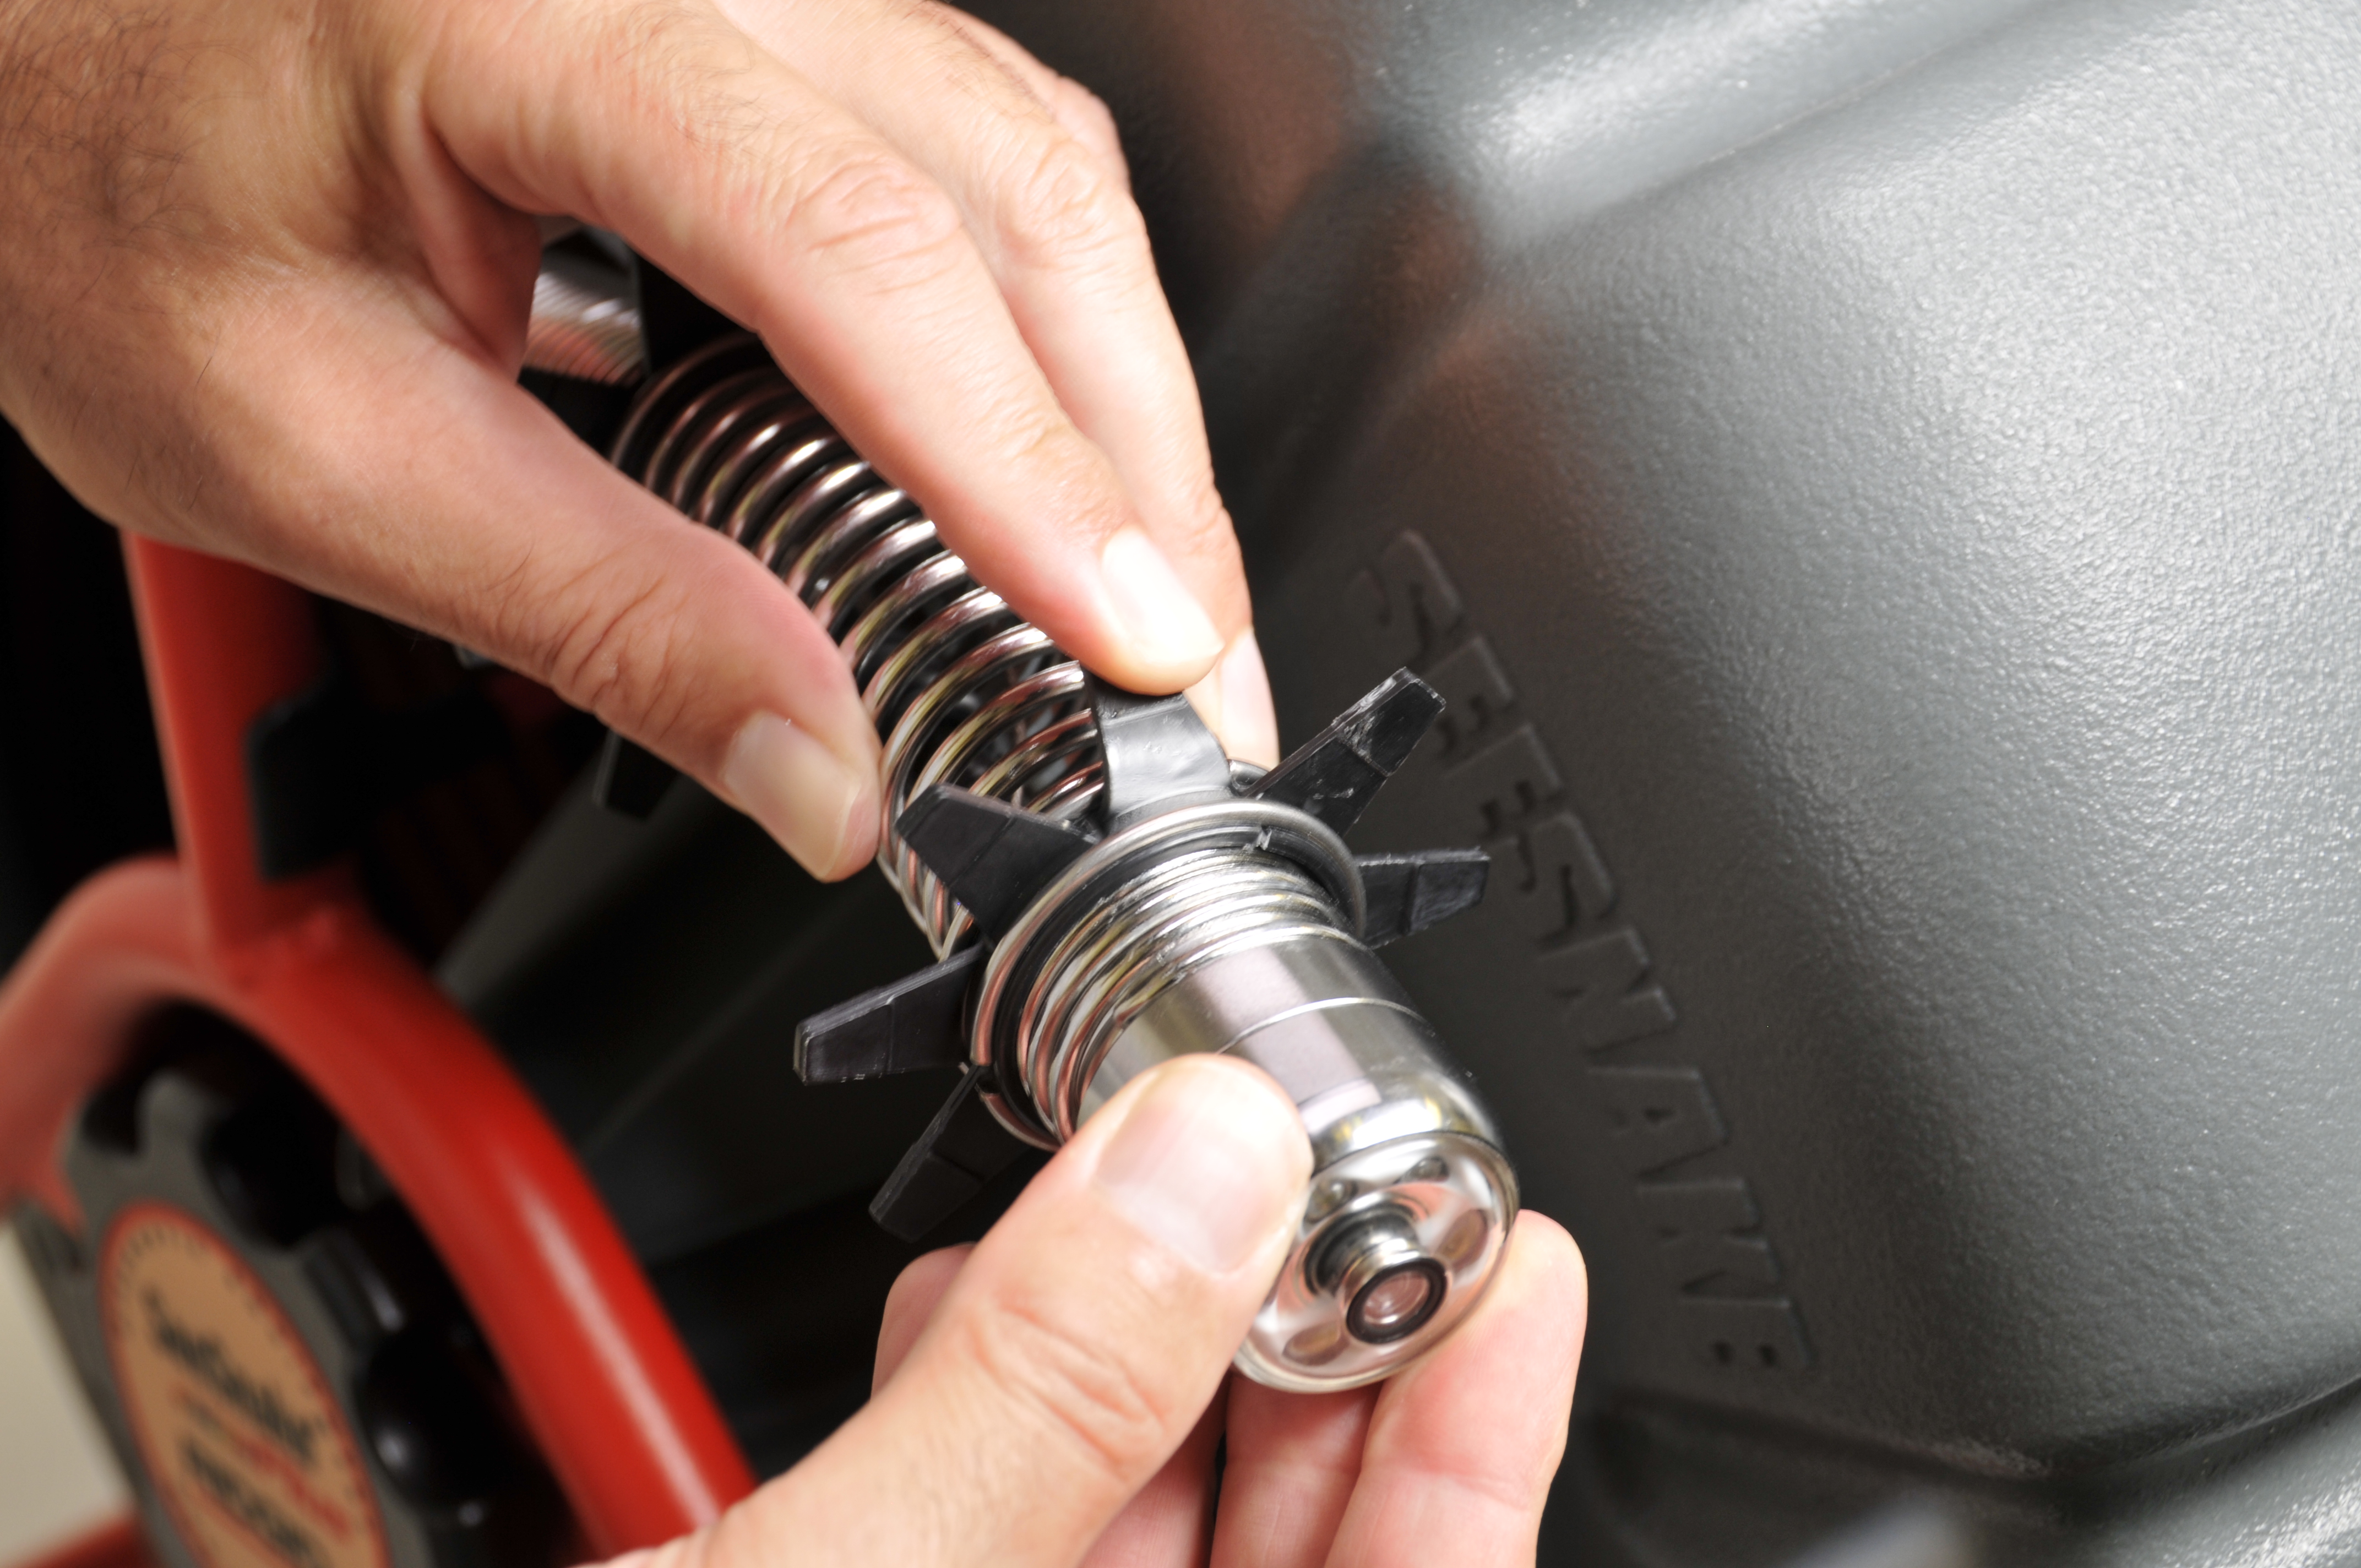
- Spread a C-ring open just enough to slip it over the hub of the star guide. Align the C-ring gap with the gap in the star guide.
- Press the C-ring into the grooved portion of the star guide hub.
- Repeat with a second C-ring for the opposite side of the hub.
- Spread the star guide and C-rings together and slide over the camera head. Alternatively, spread the star guide around the cable and up from the camera base.
- Release the star guide when it is in the desired position.
- Pre-stressing the vanes of the star guide helps make them more flexible during use. Bend each vane gently back and forth several times to pre-stress them.
- Once the star guide is installed, adjusting the C-ring so that the gap is at least 90 degrees from the star guide’s gap will help to prevent loss.
Removal
- Slide the end of a flat-tipped screwdriver between the C-ring and the base of a vane.
- Pry or snap the C-ring off.
- Repeat for the second C-ring.
- Slide the star guide and C-rings off the cable.
Depending on work conditions, you can place a ball guide on the spring behind the camera to tilt the camera head upward to view the top of the pipe.
Installation
These ball guides use two retaining rings that hold the guide in place on the spring. Check to make sure that the spring is not over tightened on the camera head before installation. Over tightening the spring will cause the end closest to the camera head to rise, and may prevent the ball guide from sliding onto the spring.
- Pull the retaining rings outward with the tip of a flat-tipped screwdriver to unlock them.
- Slide the ball guide over the camera head and position it on the spring.
- Lock the rings by pressing them in once the guide is in position.
Removal
- Unlock the retaining rings by pulling them outward with the tip of a flat-tipped screwdriver.
- Slide the ball off the camera head.
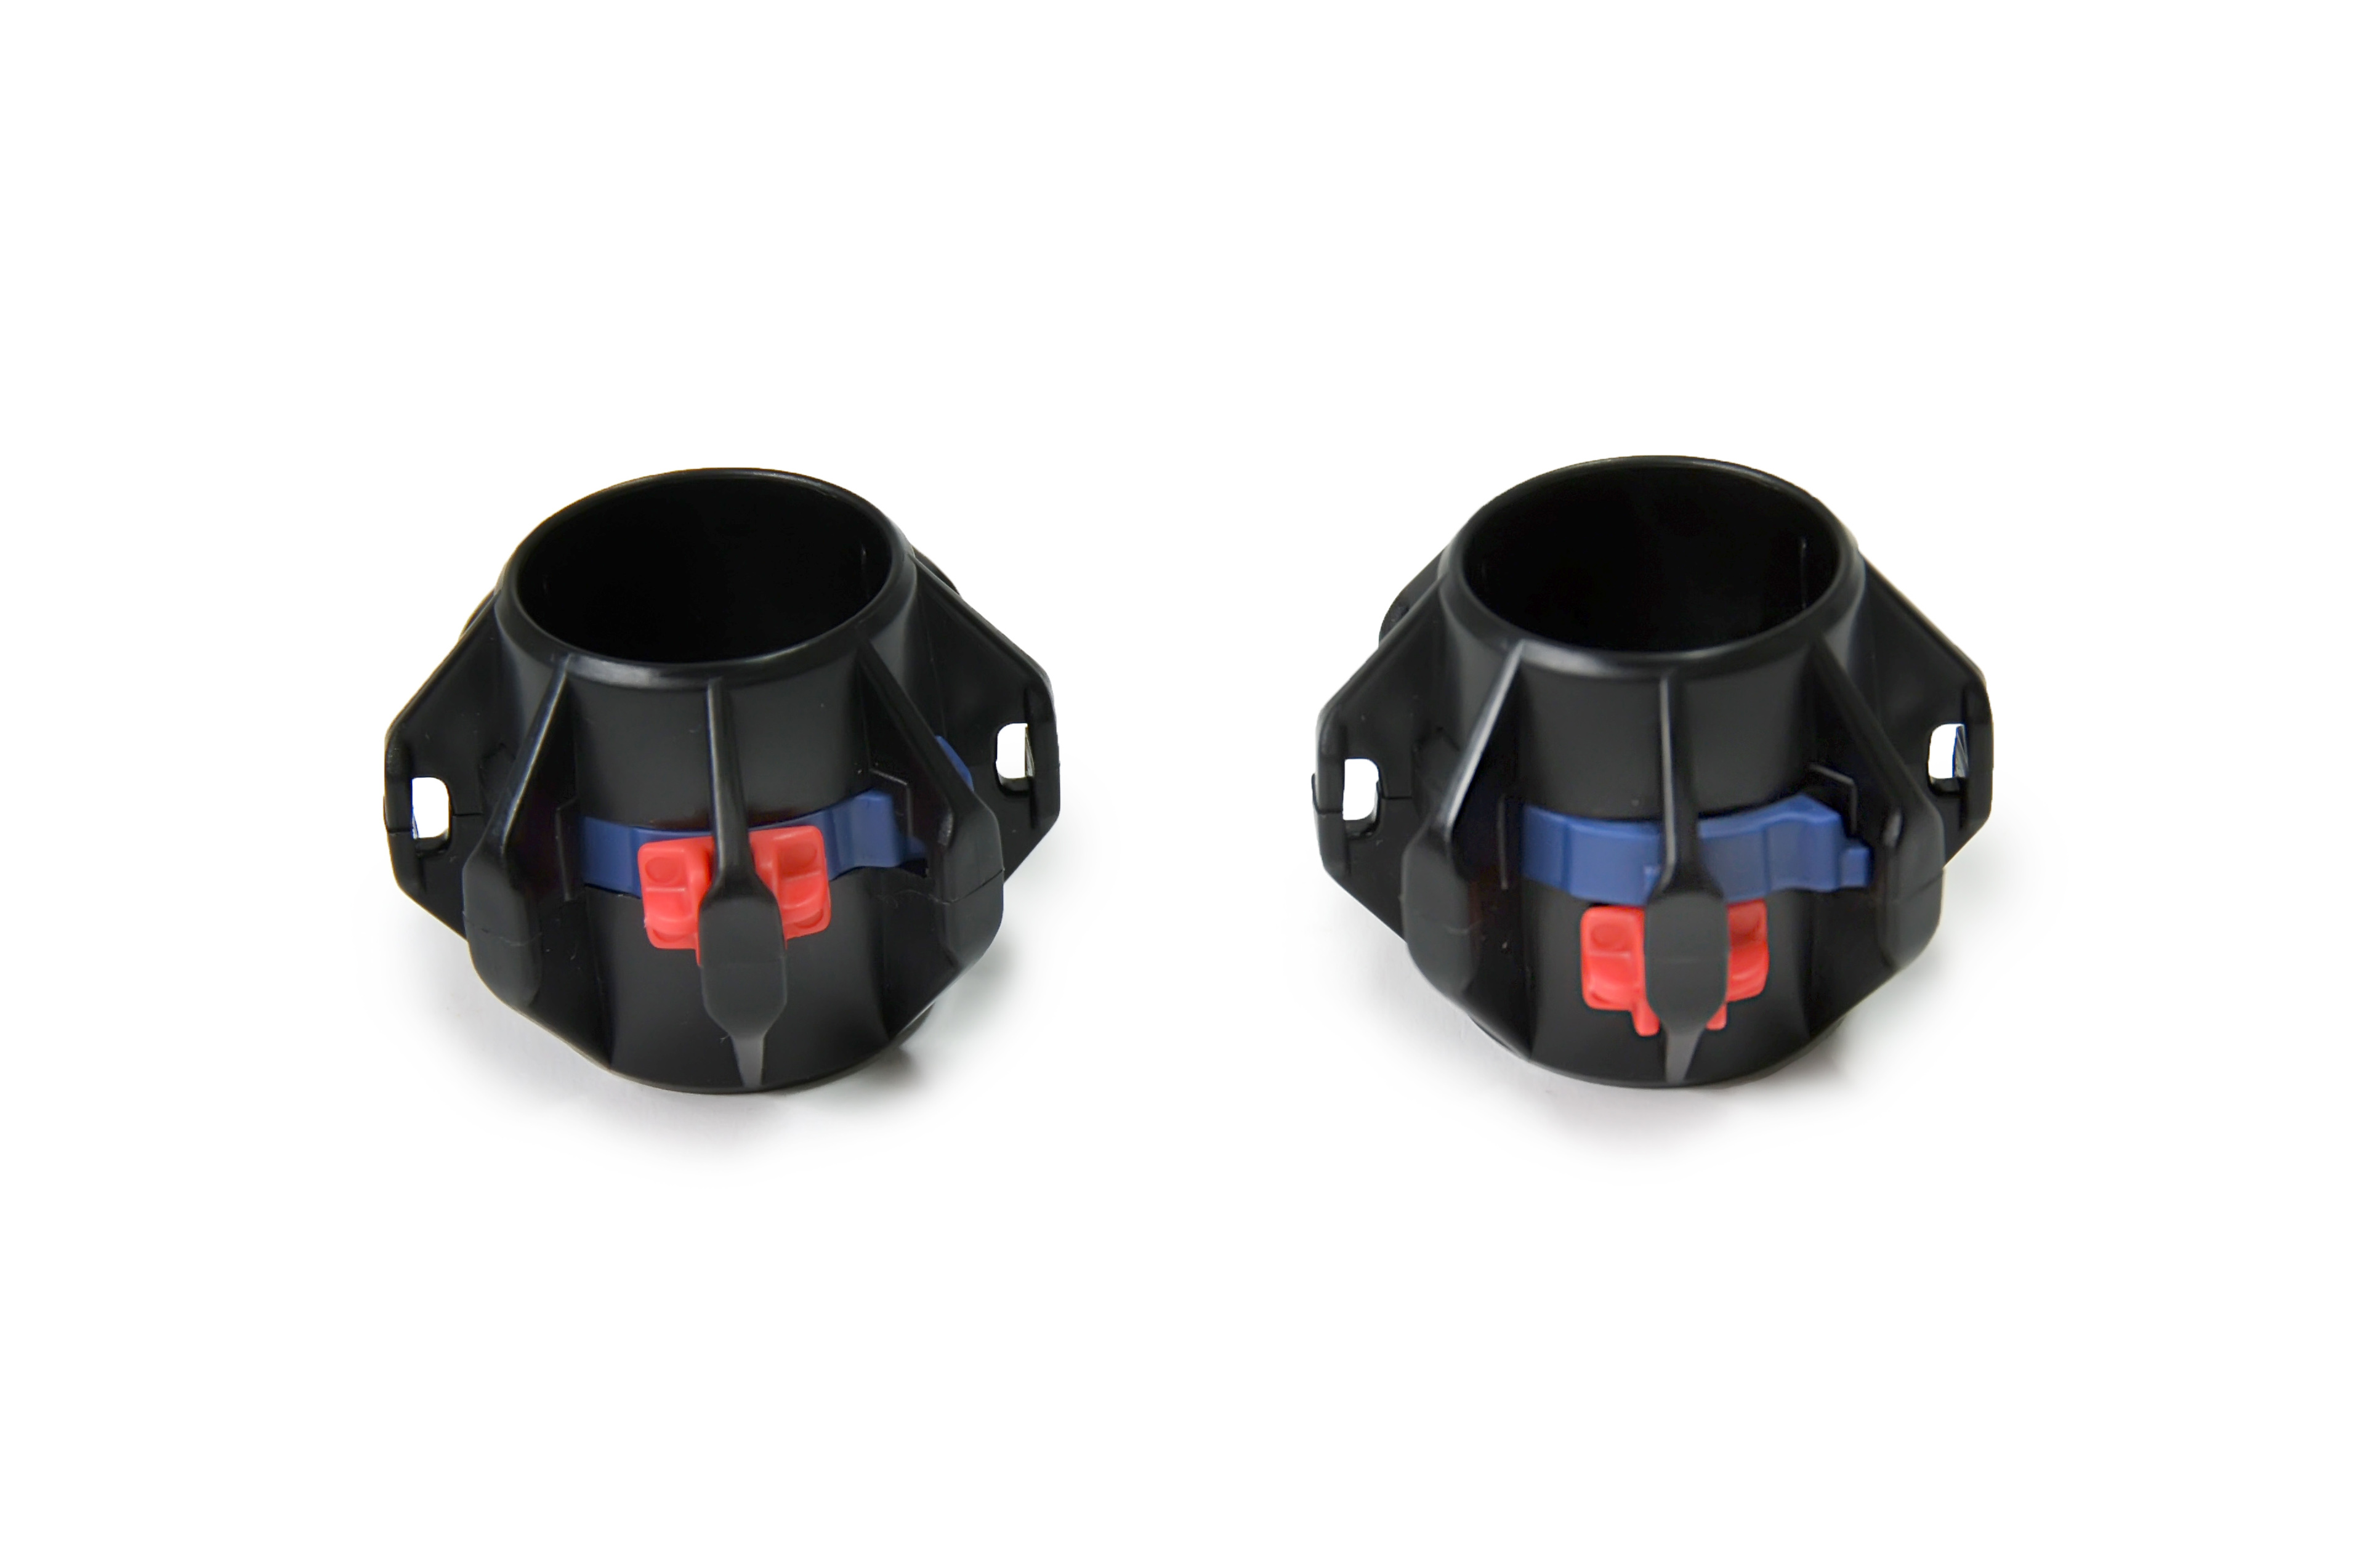
Installation
Locking ball guides are designed to slip onto the spring and lock into place without the use of other tools.
Note that if a ball guide gets snagged in a pipe, it can fall off the spring. To avoid losing ball guides, do not use excessive force to push through the pipe when you feel resistance.
- Make sure the ball guide is unlocked.
- Slide the ball guide over the camera and onto the spring.
- Press down on the blue locks to secure the ball guide onto the spring.
- Slide the red locks over the blue locks to secure the ball guide into place.
Removal
- Slide the red locks down so they are not covering the blue locks.
- Slide the ball off the camera head.
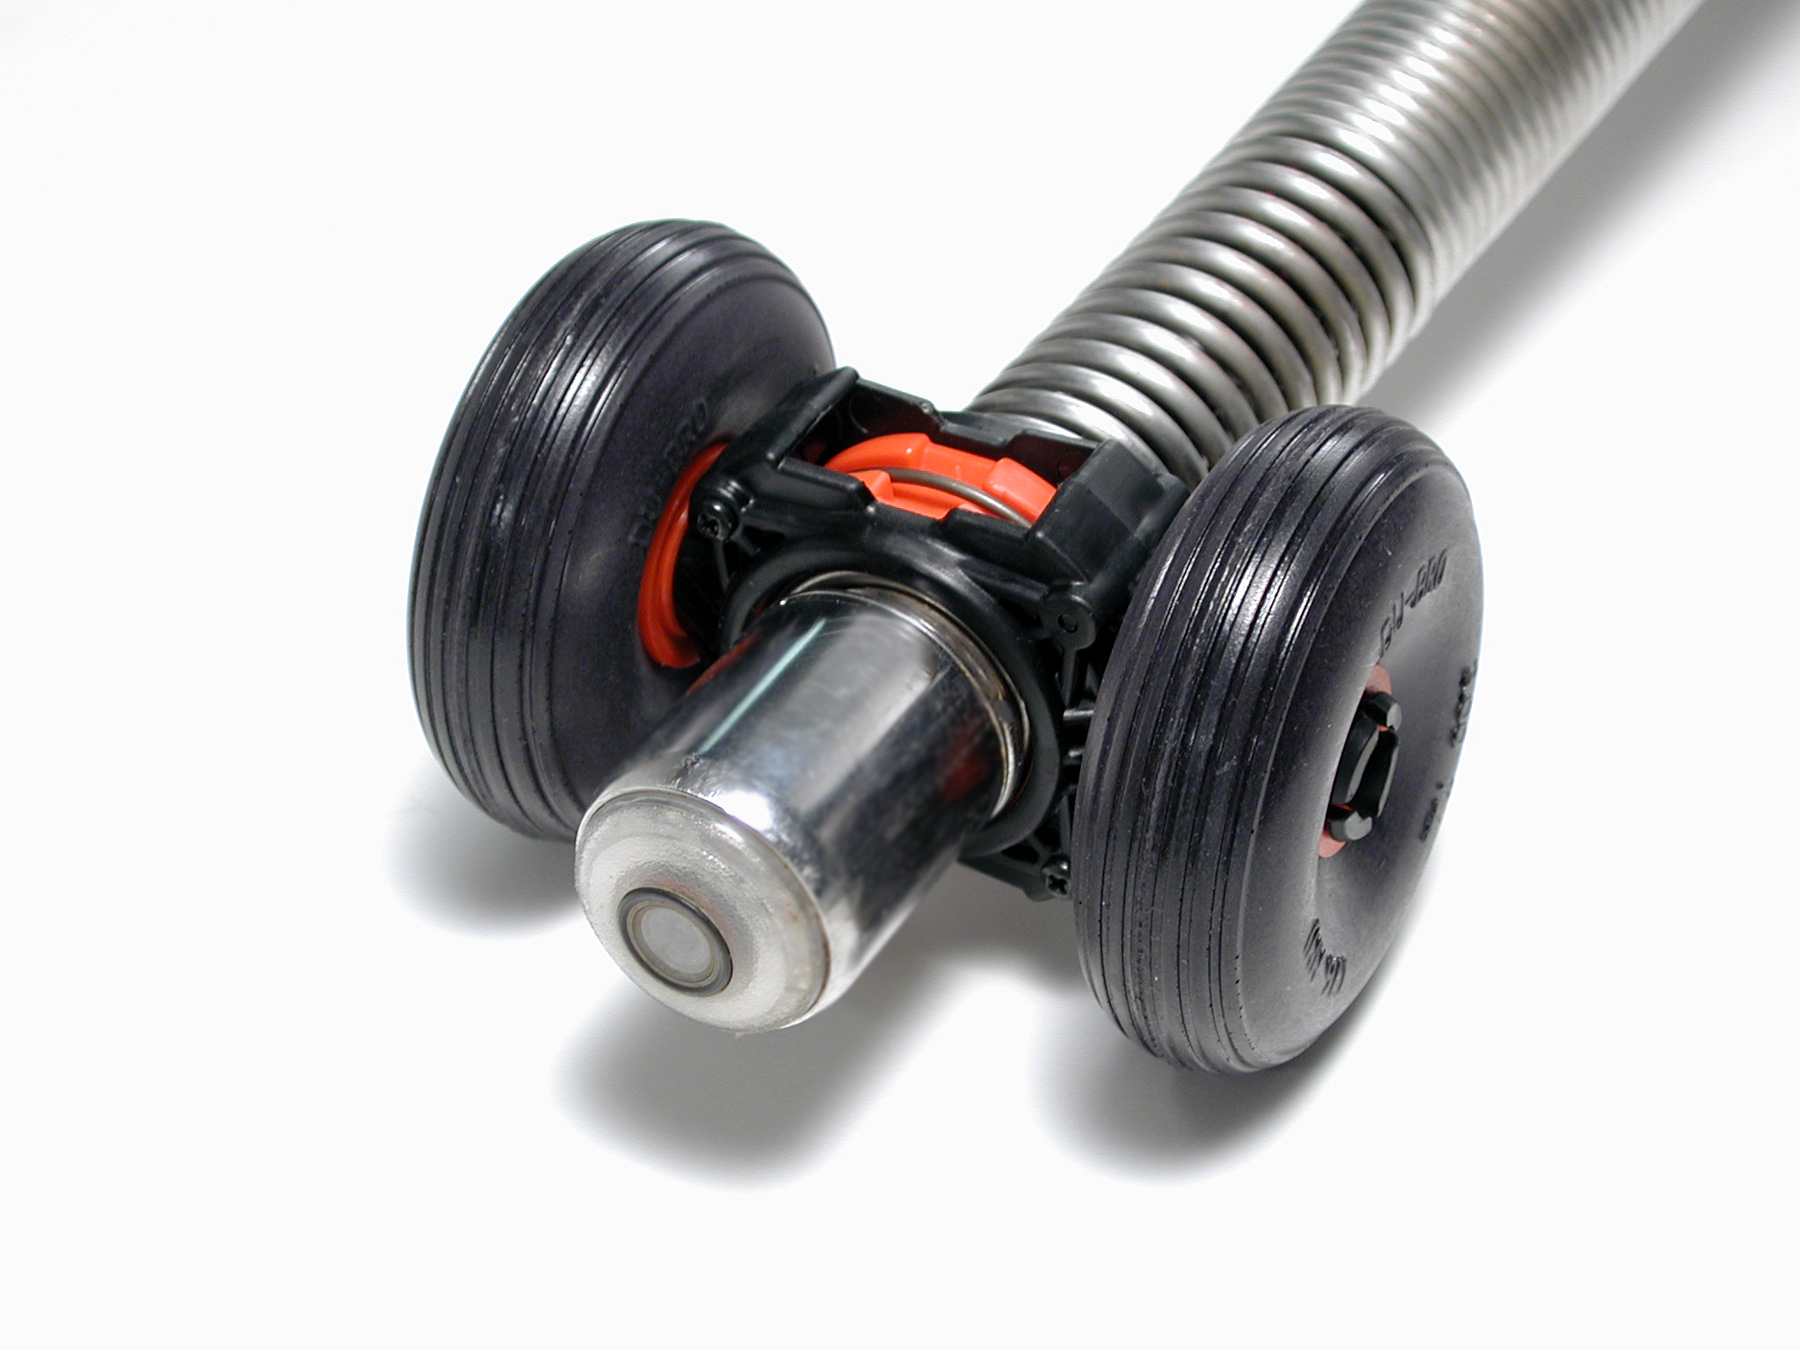
The roller dolly can be used when inspecting pipes that are 1.4 m [4.5 ft] or larger with the SeeSnake Standard camera reel. The roller dolly is useful for long straight inspections such as in city service lines.
Installation
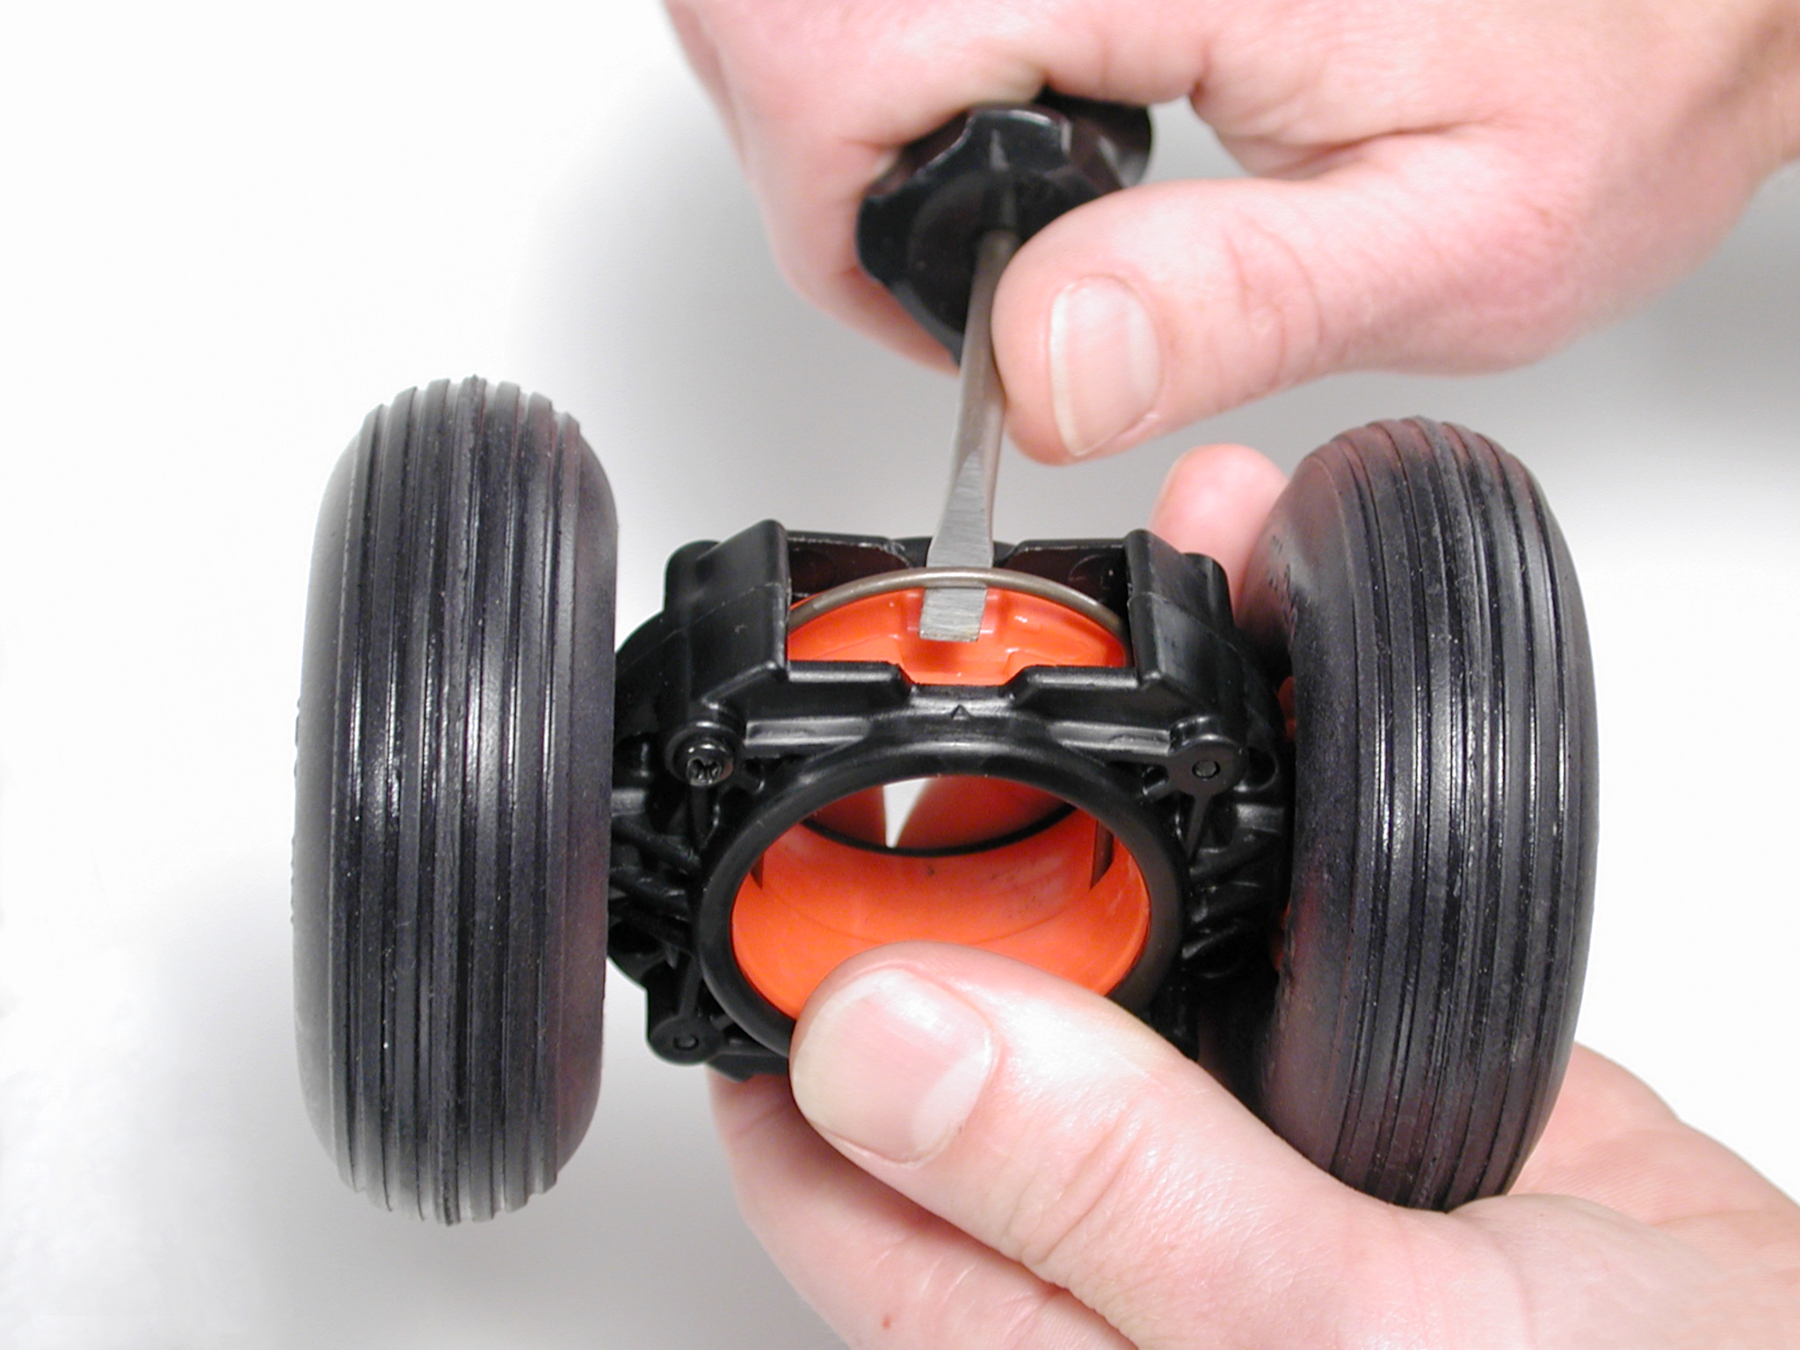
- Pull the retaining rings outward with the tip of a flat-tipped screwdriver to unlock them.
- Slide the roller dolly over the camera head to the desired position.
- Press the retaining rings closed.
Removal
- Pull the retaining rings outward with the tip of a flat-tipped screwdriver to unlock them.
- Slide the roller dolly off the camera head.
Pan and Zoom on CSx Monitors
Panning and Zooming is a helpful way to highlight areas of interest within the image displayed on a CSx device.
SeeSnake Pro
Introducing the new RIDGID SeeSnake Mini Pro, our smallest and most rugged self-leveling camera, equipped with TruSense® technology.
SeeSnake, SeekTech, and NaviTrack Accessories
Product Accessories for RIDGID® SeeSnake® RIDGID® SeekTech® and NaviTrack Equipment
Slip Ring Assembly Instructions
Slip Ring Assembly Instructions for the RIDGID® SeeSnake® microDrain™, microReel™, and nanoReel™ systems.
How to View the SeeSnake Camera Reel Odometer
The odometer lets you know the total cable distance pushed over the life of the RIDGID SeeSnake camera reel, this article lets you know how to access it.
Clamshell Kickstand Instructions
Follow these instructions to learn how to set up your kickstand for the RIDGID® SeeSnake® microDrain™, microReel™, and nanoReel™ systems.
RIDGID® SeeSnake® Product Videos
SeeSnake® Product Videos To view s [...]
Cleaning a SeeSnake Standard or Mini Camera Reel
Learn how to clean the components of a RIDGID SeeSnake Standard or Mini camera reel.
Installing a Camera onto a SeeSnake Camera Reel
Learn how to install a camera onto a SeeSnake camera reel.
Removing the Camera on a SeeSnake Camera Reel
Learn how to remove a camera from a RIDGID SeeSnake camera reel.
SeeSnake Tips & Tricks
Watch this video to learn tips and tricks on getting the most out of your SeeSnake camera reel during a pipe inspection.
Pipe Guides for SeeSnake Camera Reels
How to install and remove pipe guides on a RIDGID SeeSnake camera system.
SeeSnake Camera Reel Best Practices
Best practices for using a RIDGID SeeSnake camera reel to increase the effectiveness of your equipment.
Updating SeeSnake Software
Learn how to update the software on SeeSnake pipe inspection monitors.
Editing Inspections with HQ
Editing and managing jobs in HQ Software for Windows.
Adding Inspector Information
How to save default inspector information to a RIDGID SeeSnake inspection monitor so you can quickly add it to reports.
Line Locating with a SeeSnake Inspection System
How to locate the path of a pipe by line tracing the push cable using a SeeSnake camera reel and monitor.
Sonde Locating with a SeeSnake Inspection System
Finding points of interest in a pipe by locating the integrated sonde in a SeeSnake camera reel.
About Autolog – RIDGID SeeSnake CSx Monitors
Learn how to record Autolog video, a compressed video format that leaves you more room for additional media.
Field Reporting with SeeSnake Monitors
How to quickly create and distribute inspection reports while on the job with a RIDGID SeeSnake monitor.

