SeeSnake CS10 Support
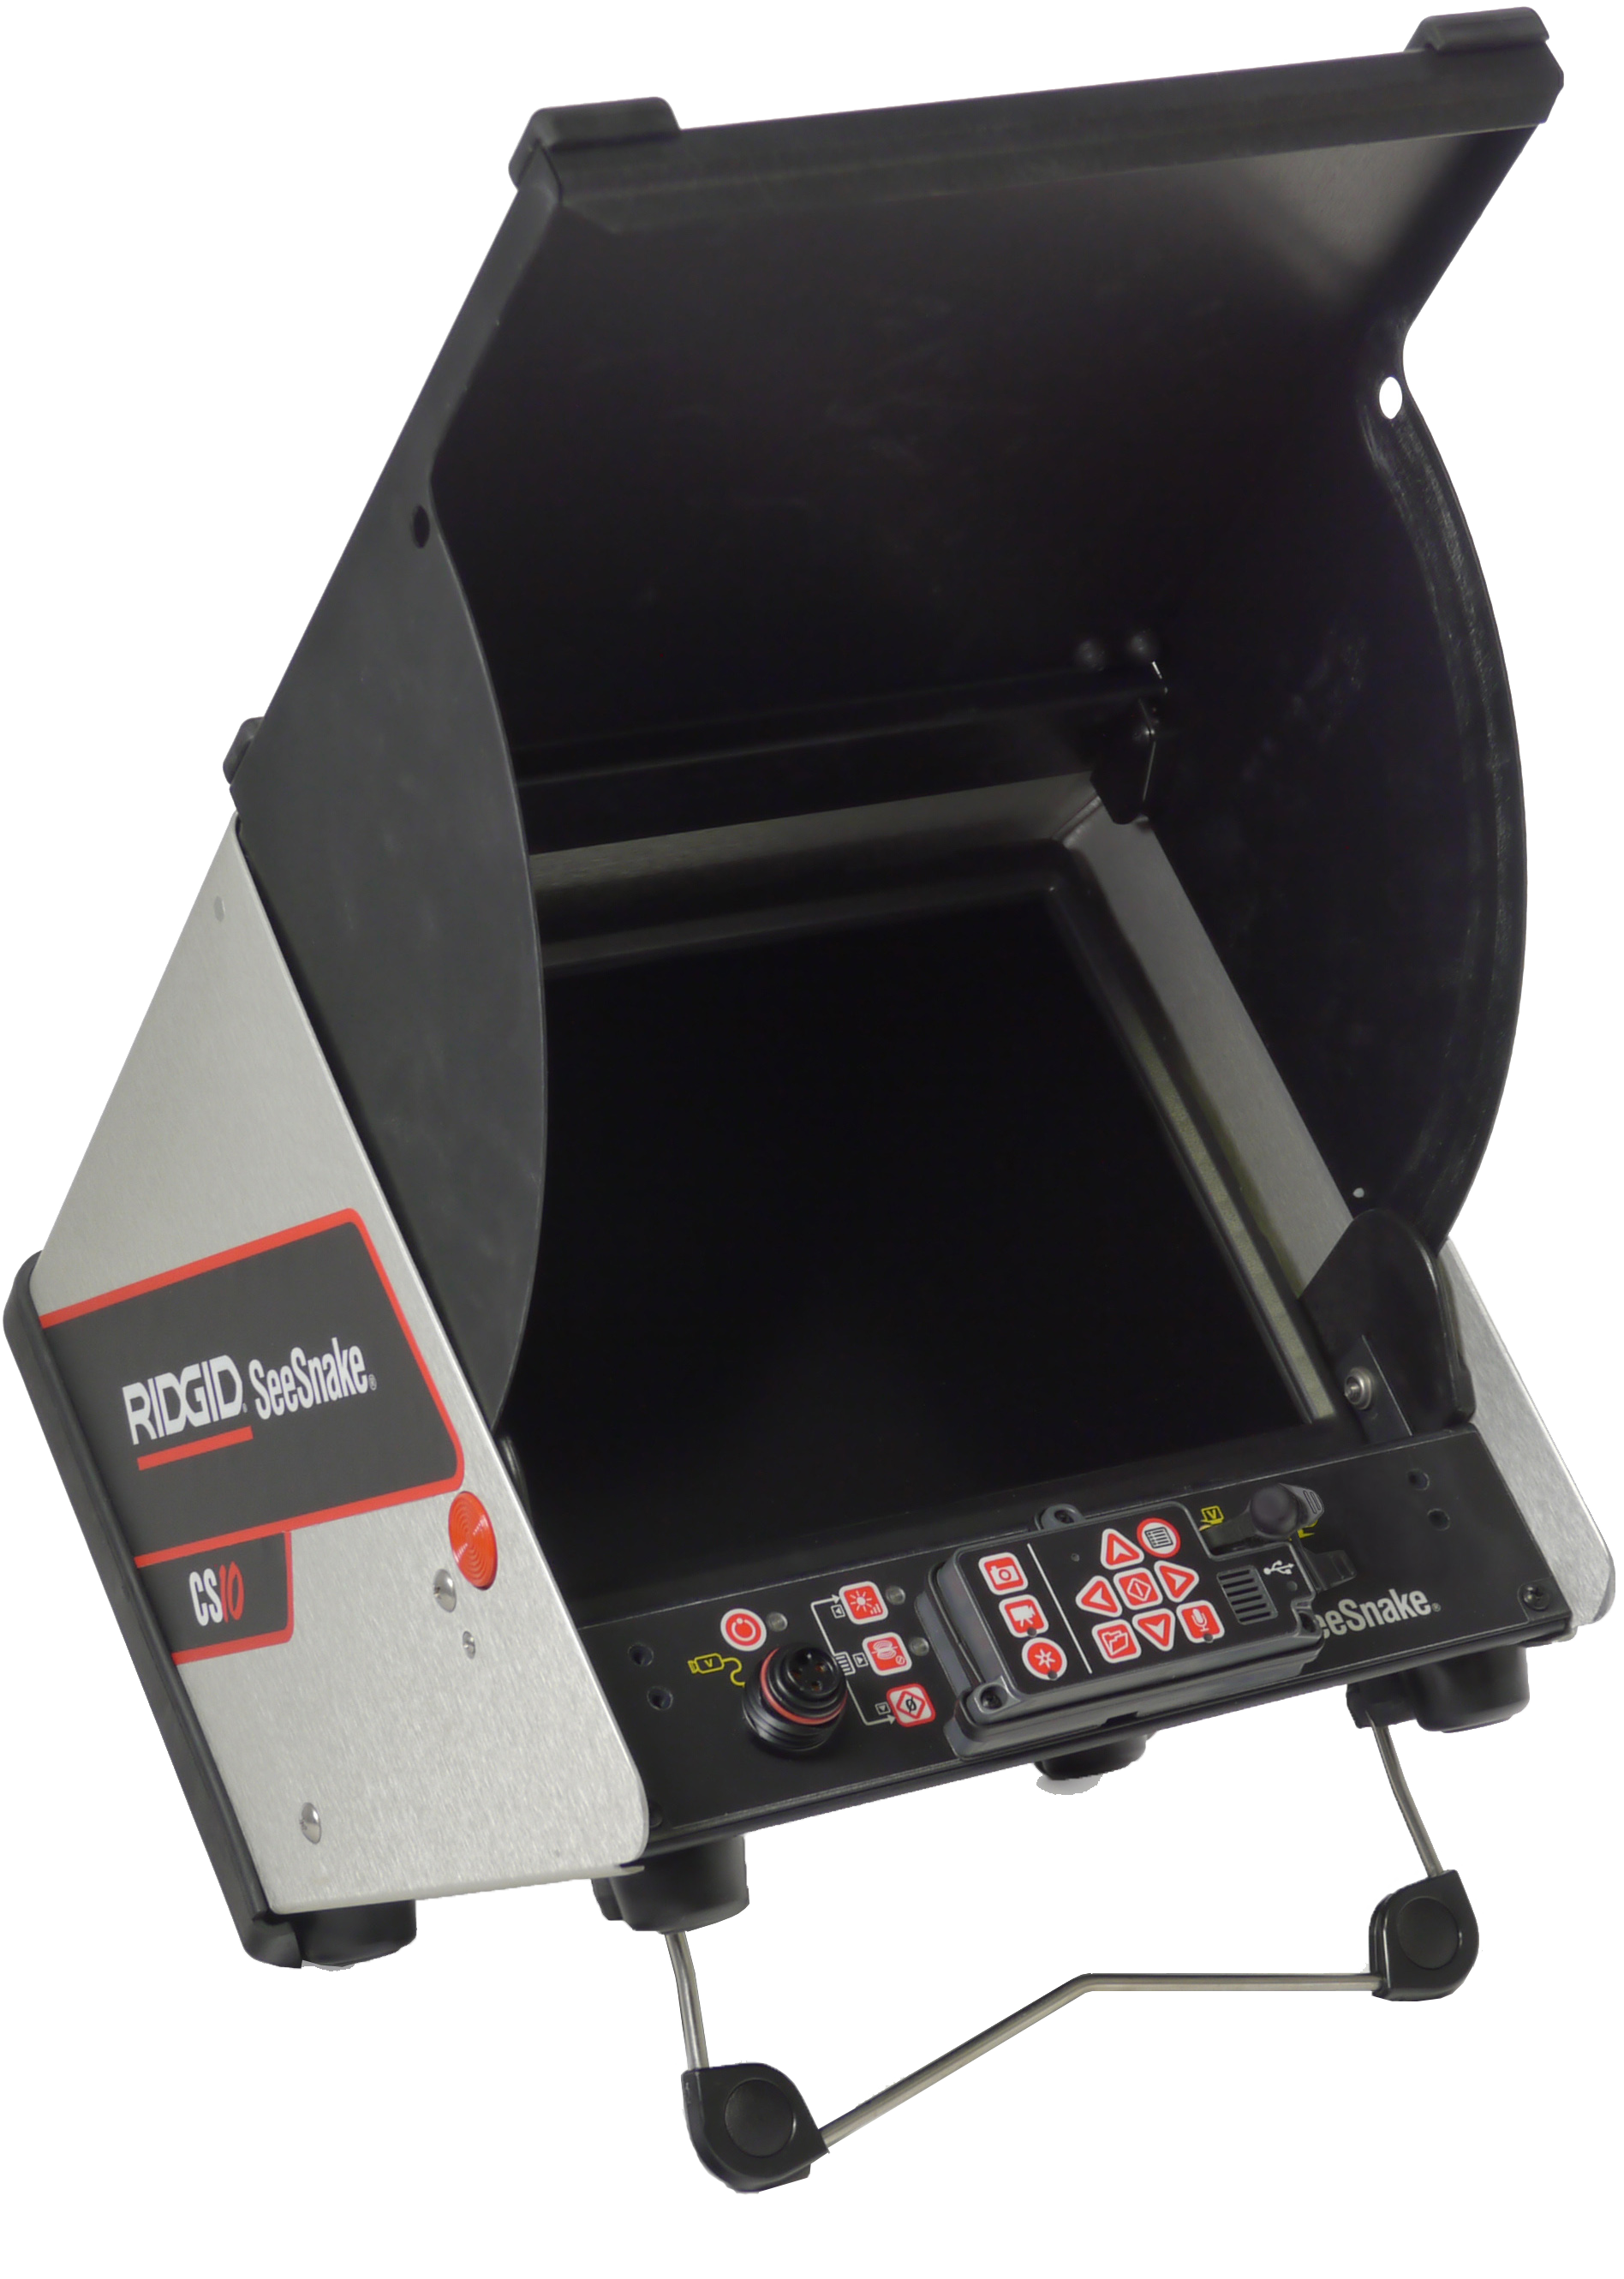
The SeeSnake® CS10 is a portable monitor and camera control unit designed to easily connect to any SeeSnake camera reel. The CS10 can capture audio, video, and still images and assemble them automatically into an HTML report on a USB thumb drive. The CS10 contains readily accessible controls to adjust the camera and the display, and to control the in-line sonde built into many SeeSnake
cameras.
The built-in sonde enables the operator to locate the camera underground. The CS10 can also be connected to an external Line transmitter which can line trace the path of a SeeSnake cable in a pipe.
The CS10 is also fully compatible with SeeSnake HQ Software. HQ quickly generates customized reports of inspection media, which can be emailed, printed, burned onto DVD, or exported for viewing in a web browser.
Ready for an upgrade? Learn about the CSx Wi-Fi enabled monitor series.

Videos
Support Topics
CS10 FAQs
- It could be that the contrast on the monitor is at its lowest setting.
- Try setting it back to the halfway point on the adjustment bar. If no camera is plugged in, a blue screen will be visible. If a camera is connected, the video should be visible again.
- Check the cable connection between your reel and monitor.
- By default, the CS10 software shows you the Count information, but does NOT record this information to the actual media.
- In order to stamp your media with Count information, you will need to navigate to Menu > Settings > Overlay and turn it on.
- In order to do this, you will need a SeeSnake CountPlus on your SeeSnake Reel.
- This is a way to safely remove the USB drive from the system. You should always eject the USB drive before removing it.
- Ejecting allows the system to finish writing any media to the USB drive. After ejecting, be sure to wait until the green USB LED turns off before removing the drive.
- Depending on the version of software on the CS10, the unit may also show a message saying Safe to Remove USB. This message will be seen until the drive is removed.
- The system was not shut down with the Power key. Improperly shutting down the CS10 without using the Power key can lead to loss of media on the USB drive.
- You will need to acknowledge this message by pressing the Select key on the CS10 before shutting the unit down again.
- When you get the Unsafe Shutdown message on your CS10, pressing the Select key on the keypad (the button in the center of the 4 arrow buttons) will clear the message.
- Pressing the Select key is the only way to clear it once it has popped up. Also, you cannot power down the unit using the Power key until the message is cleared.
The system may have had a problem initializing the USB drive. Try removing and then reinserting it.
- After closing current jobs and finalizing a report, remove the USB drive from the CS10 and insert it into a USB port on a computer to view the list of files.
- Double-click the file named report.html to view the media in a web browser.
- Click on the preview of each media item in the web browser to view full size photos and to playback video and Autolog video. These will be in AVI, MP4, or JPEG formats.
- Use the browser’s back button to return to the initial page.
If a yellow exclamation icon appears next to any of your equipment listed in the equipment locker in HQ, it indicates that you need a software update on your device. You can simply click on the device and then click update to update your software. After you update your software, this icon will no longer appear.
For further instructions, read about updating your SeeSnake software here.
Please visit the CS10 Product Page for full specifications and details located at the following link:
- If using a SeeSnake pipe inspection system with a built-in sonde, detect the camera’s location underground by using a locator such as the RIDGID SR-20, SR-24, SR-60, Scout or NaviTrack II.
Press the Sonde Key on the CS10 to turn the sonde ON and OFF.
- Run the SeeSnake push cable from 5 ft to 10 ft [1.5 m to 3 m] into the pipe.
- Use the locator to find the sonde’s position by setting it to Sonde mode and by scanning in the direction of the sonde’s probable location until the locator detects the sonde.
- If desired, extend the SeeSnake push cable farther down the pipe and locate the sonde again starting from the previous located position.
- Once you have detected the sonde, use the locator indications to zero in on its location precisely.
- For detailed instructions on sonde locating, consult the Operator’s Manual for the locator model you are using.
- To review the files stored on the USB drive, access the Media List from the Job Manager screen.
- In the Media List use the Arrow keys and the Select key to select media files. Alternatively, access the Job Manager screen from the Main Menu.
- Use the Right and Left Arrow keys to fast forward and rewind video and Autolog recordings.
The best way to make notes on your media is to export your data to SeeSnake HQ and edit it there. By doing this, you are also giving yourself the ability to email, print, burn to DVD, or upload your reports to your customers.
Yes. We have designed both the CS10 and SeeSnake HQ to work together in order to provide you and your customer with easy-to-use and powerful reporting and distribution options.
- You can transfer your jobs to SeeSnake HQ by simply plugging the USB drive that you utilized with the CS10 into your SeeSnake HQ-ready computer.
- When you open SeeSnake HQ, it will automatically ask you if you’d like to import your jobs.
No, the CS10 was designed to record your jobs to a USB drive. In order to capture and save media for distribution, a USB drive must be inserted into the unit.
Autolog video captures a highly compressed video of an inspection, but uses a smaller file size than standard video. To use Autolog:
 Press the Autolog key to start and stop recording an Autolog video. The Autolog LED will be lit during Autolog recording.
Press the Microphone Mute Key to turn OFF the microphone and to record Autolog video without audio.
 Press the Photo Key or the Video Key to capture additional photos or higher frame rate video clips while recording an Autolog video.
Press the Photo key to take a photo.
 Press the Video key to start and stop recording a video. The Video LED on the Main Keypad will be lit during video recording.
- Video and Autolog video can be recorded simultaneously and independent of each other. Both video recording types can be started and stopped without affecting the other.
- The CS10 automatically saves photos, videos, and Autolog videos to a job on the USB drive.
- The CS10 will open a new job if there is not already one on the USB drive.
- The CS10 will add a new session to an existing job if you use the same USB drive for multiple different jobs
- The CS10 will save media files to a new session to the job on the USB drive when it is ejected and when the CS10 shuts down.
- The CS10 will only record a new/separate job if you use a different USB drive for each job.
- You can split jobs with multiple sessions into separate jobs using SeeSnake HQ.
By using the free software called HQ that comes with every CS10 and found on our HQ page.
- You can split the sessions into individual jobs, or create a new job from sessions you select.
- After you import your CS10 into HQ, right-Click on your job containing multiple sessions from the HQ Home Screen.
- Select “Split Job” and then the type of split you want to perform (Individual jobs or create a whole new job).
