TruSense Image Capture Settings
This article teaches you how to adjust the Image Capture settings (hue, brightness, saturation, contrast, and automatic gain correction) on TruSense cameras. These settings change how the image looks on the monitor and in the recording.
The Image Capture settings are only available on TruSense cameras and require a CSx series Wi-Fi enabled monitor: SeeSnake® CS65xr, CS6x Versa, CS12x, CS65x, CS6x, or CS6xPak.
Please note that changing the Image Capture settings will affect how the image looks on the monitor’s display AND on the recorded image. To adjust how your monitor’s display looks without changing the appearance of recorded media (i.e. adjust your monitor display to compensate for jobsite lighting conditions), adjust the monitor’s Display Settings instead.
Steps
Press the Menu key to open the Settings menu.
- Scroll to Image Capture.
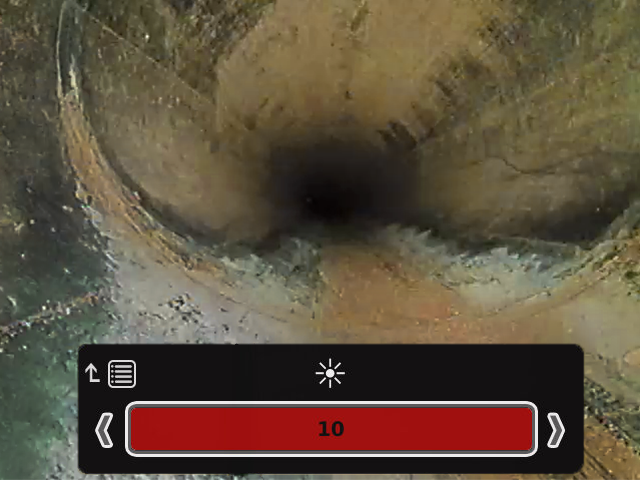
- Select the setting you would like to adjust. Use the left/right arrows to increase and decrease the values.
Press the Select key to save your changes or the Menu key to discard them.
You can restore all camera settings to default anytime in the Image Capture menu.

